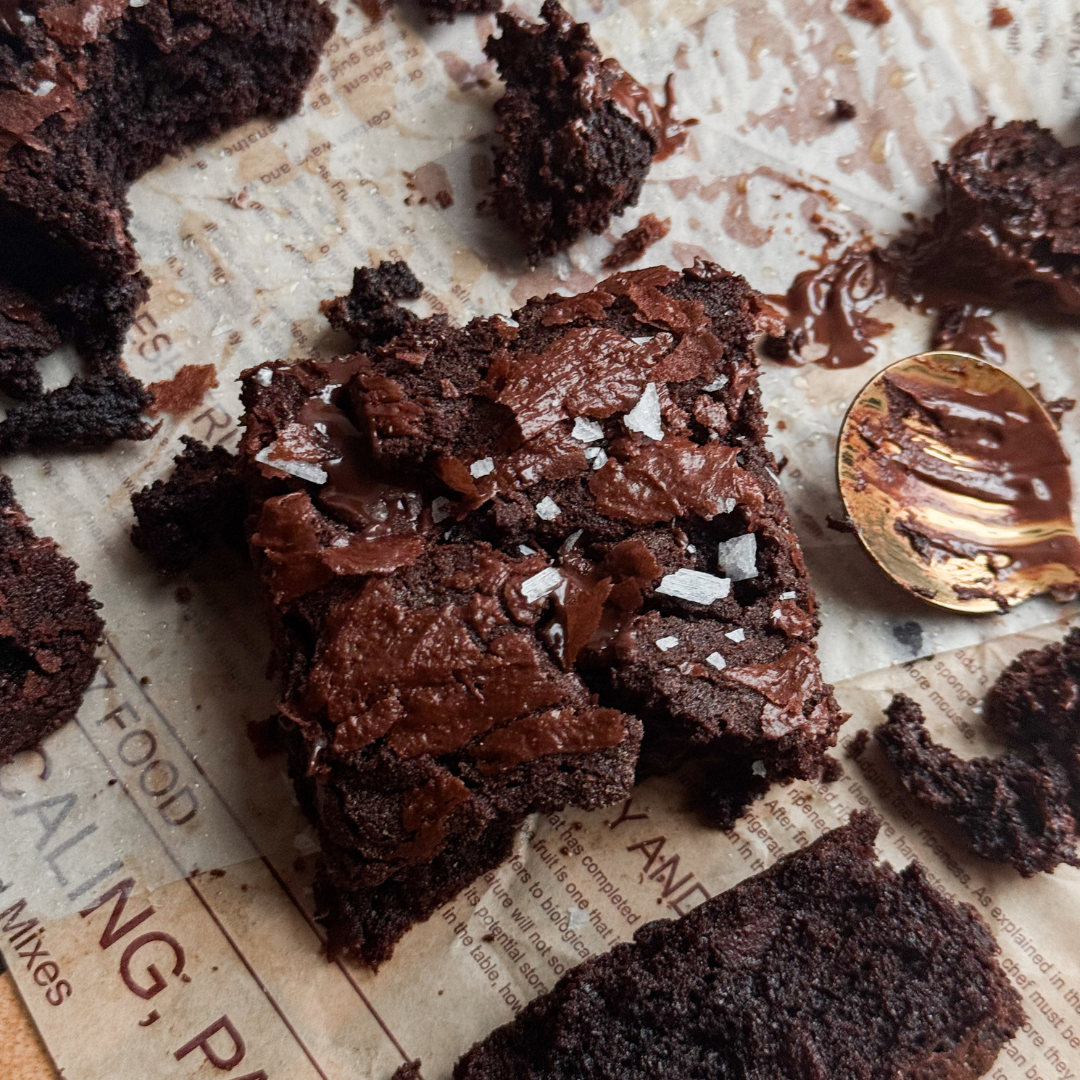
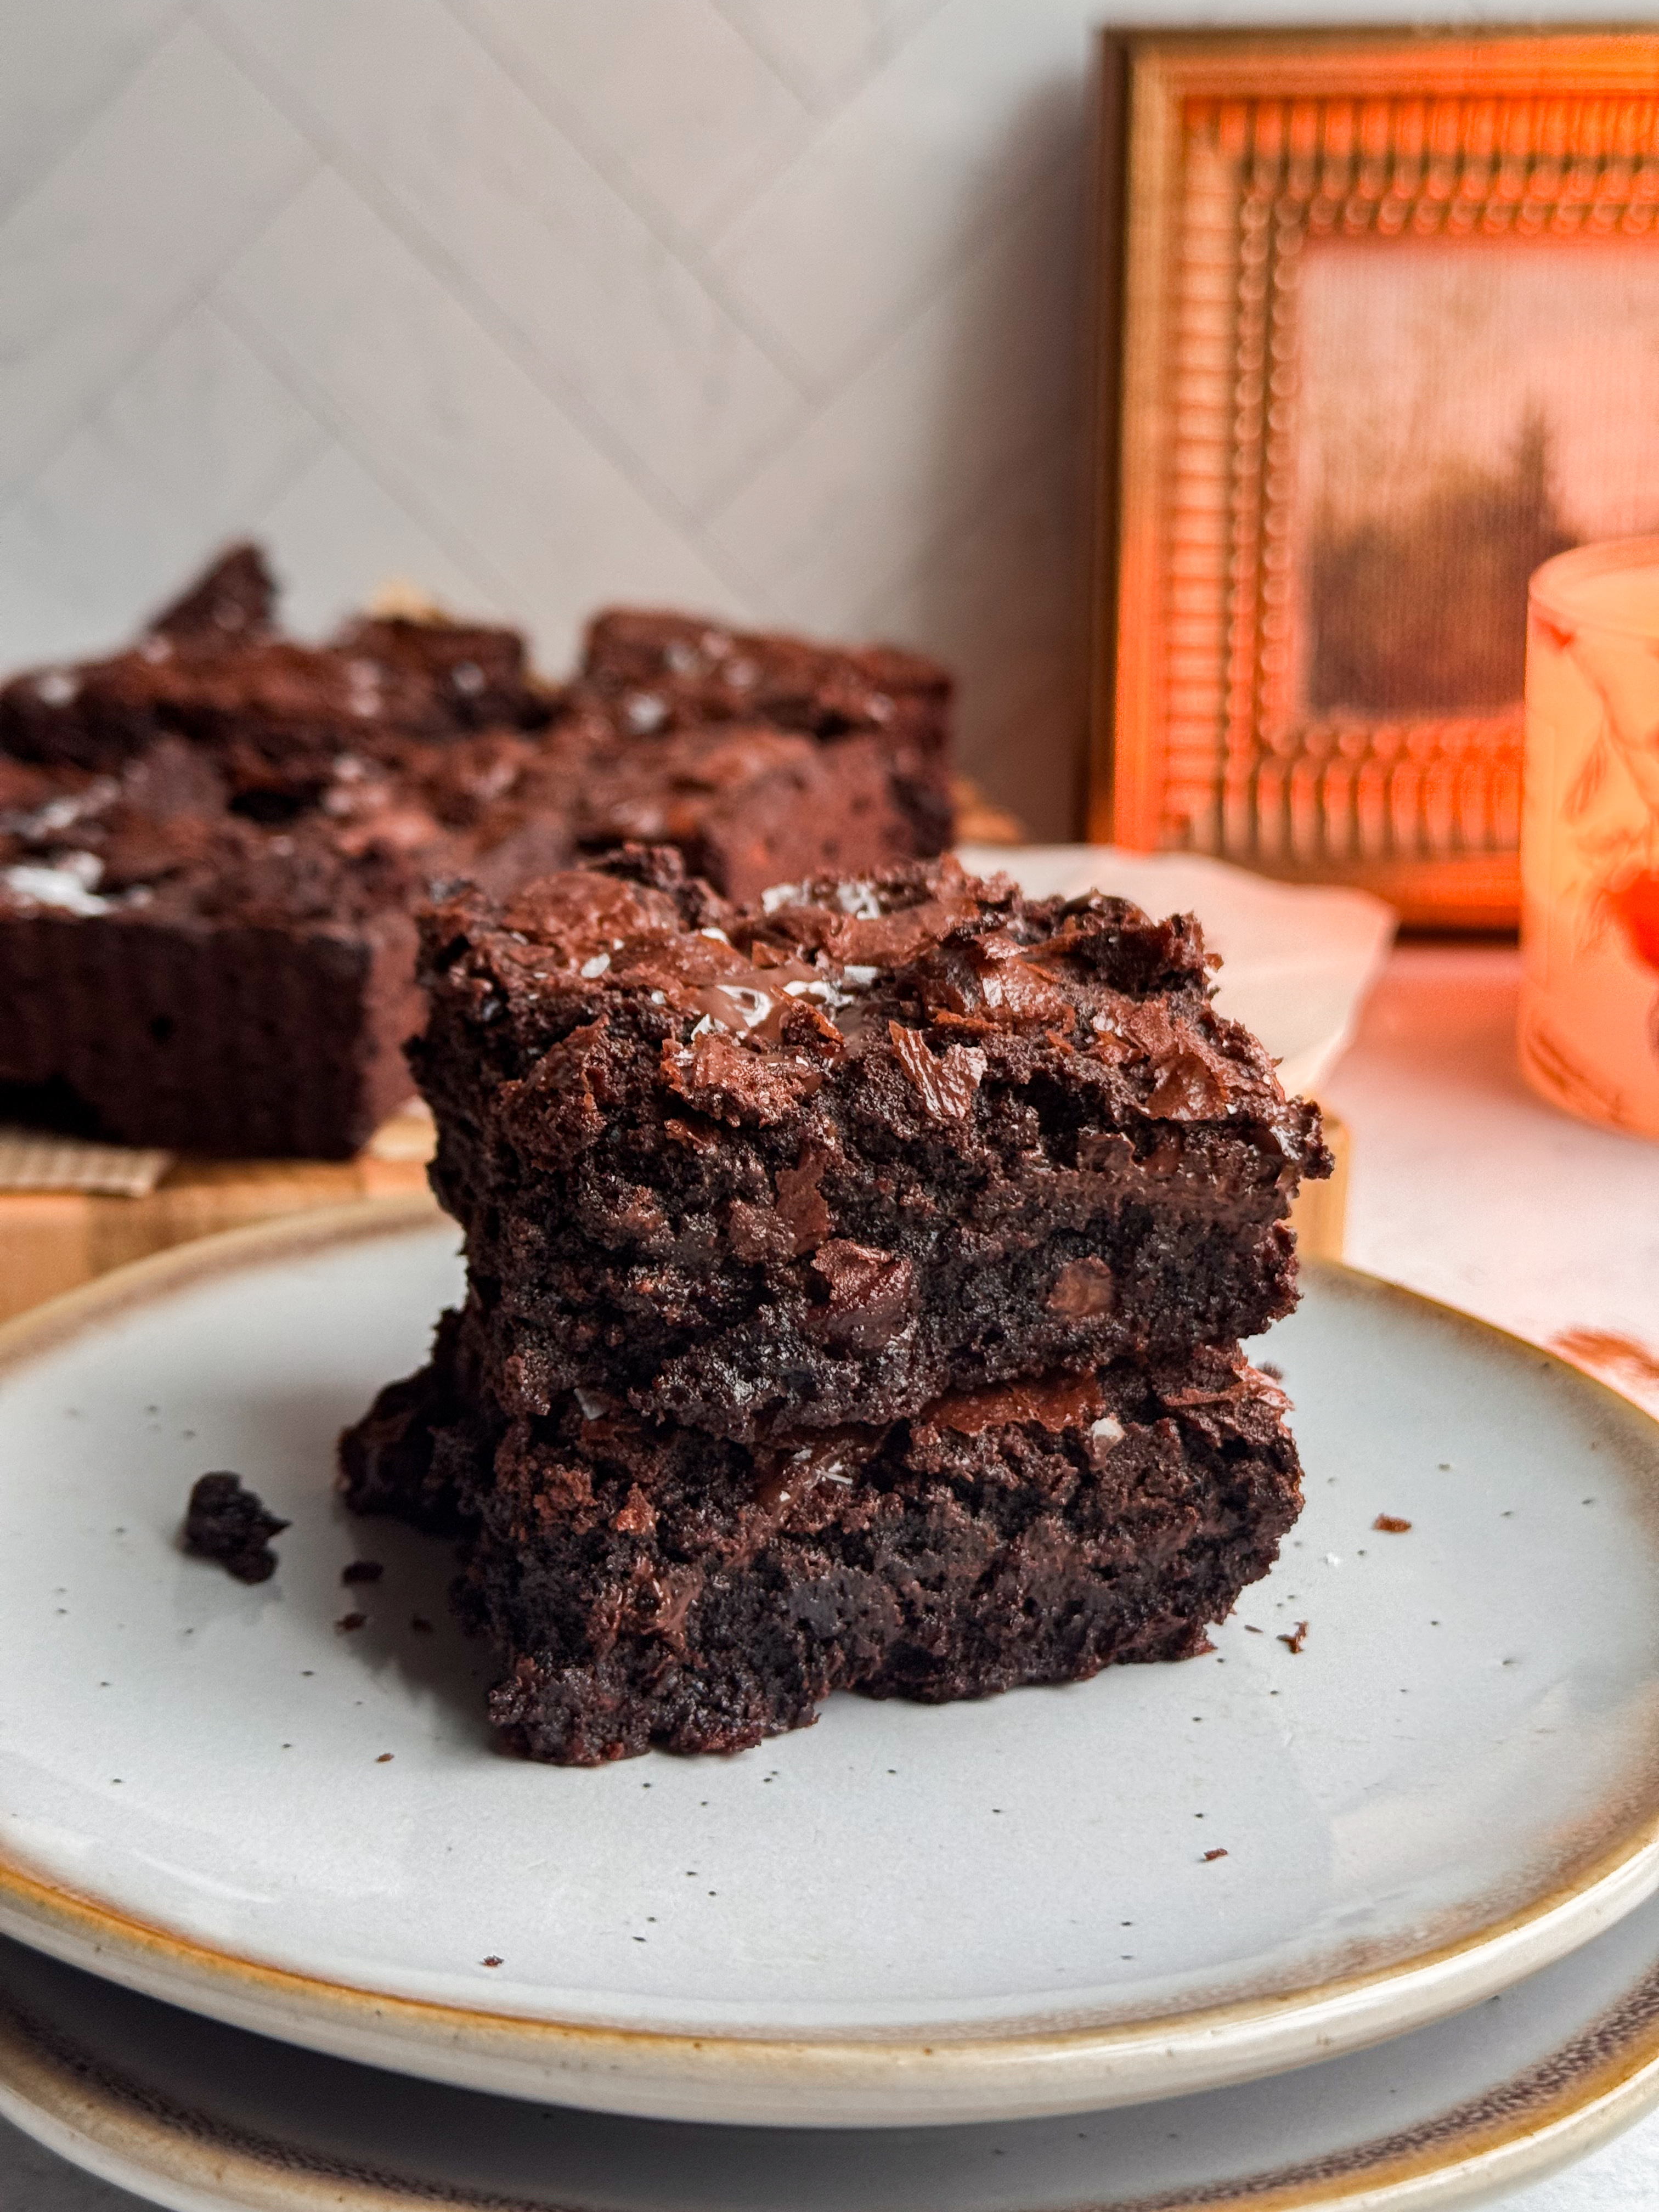
If your ideal brownie has a paper-thin crackly top, chewy edges, and an almost ridiculously fudgy chocolate center, these Ultimate Fudgy Brown Butter Brownies are for you. They’re made with browned butter, Dutch-process cocoa, melted bittersweet chocolate, and plenty of chocolate chunks for an intensely chocolatey brownie with a subtle nutty, caramelized flavor underneath.
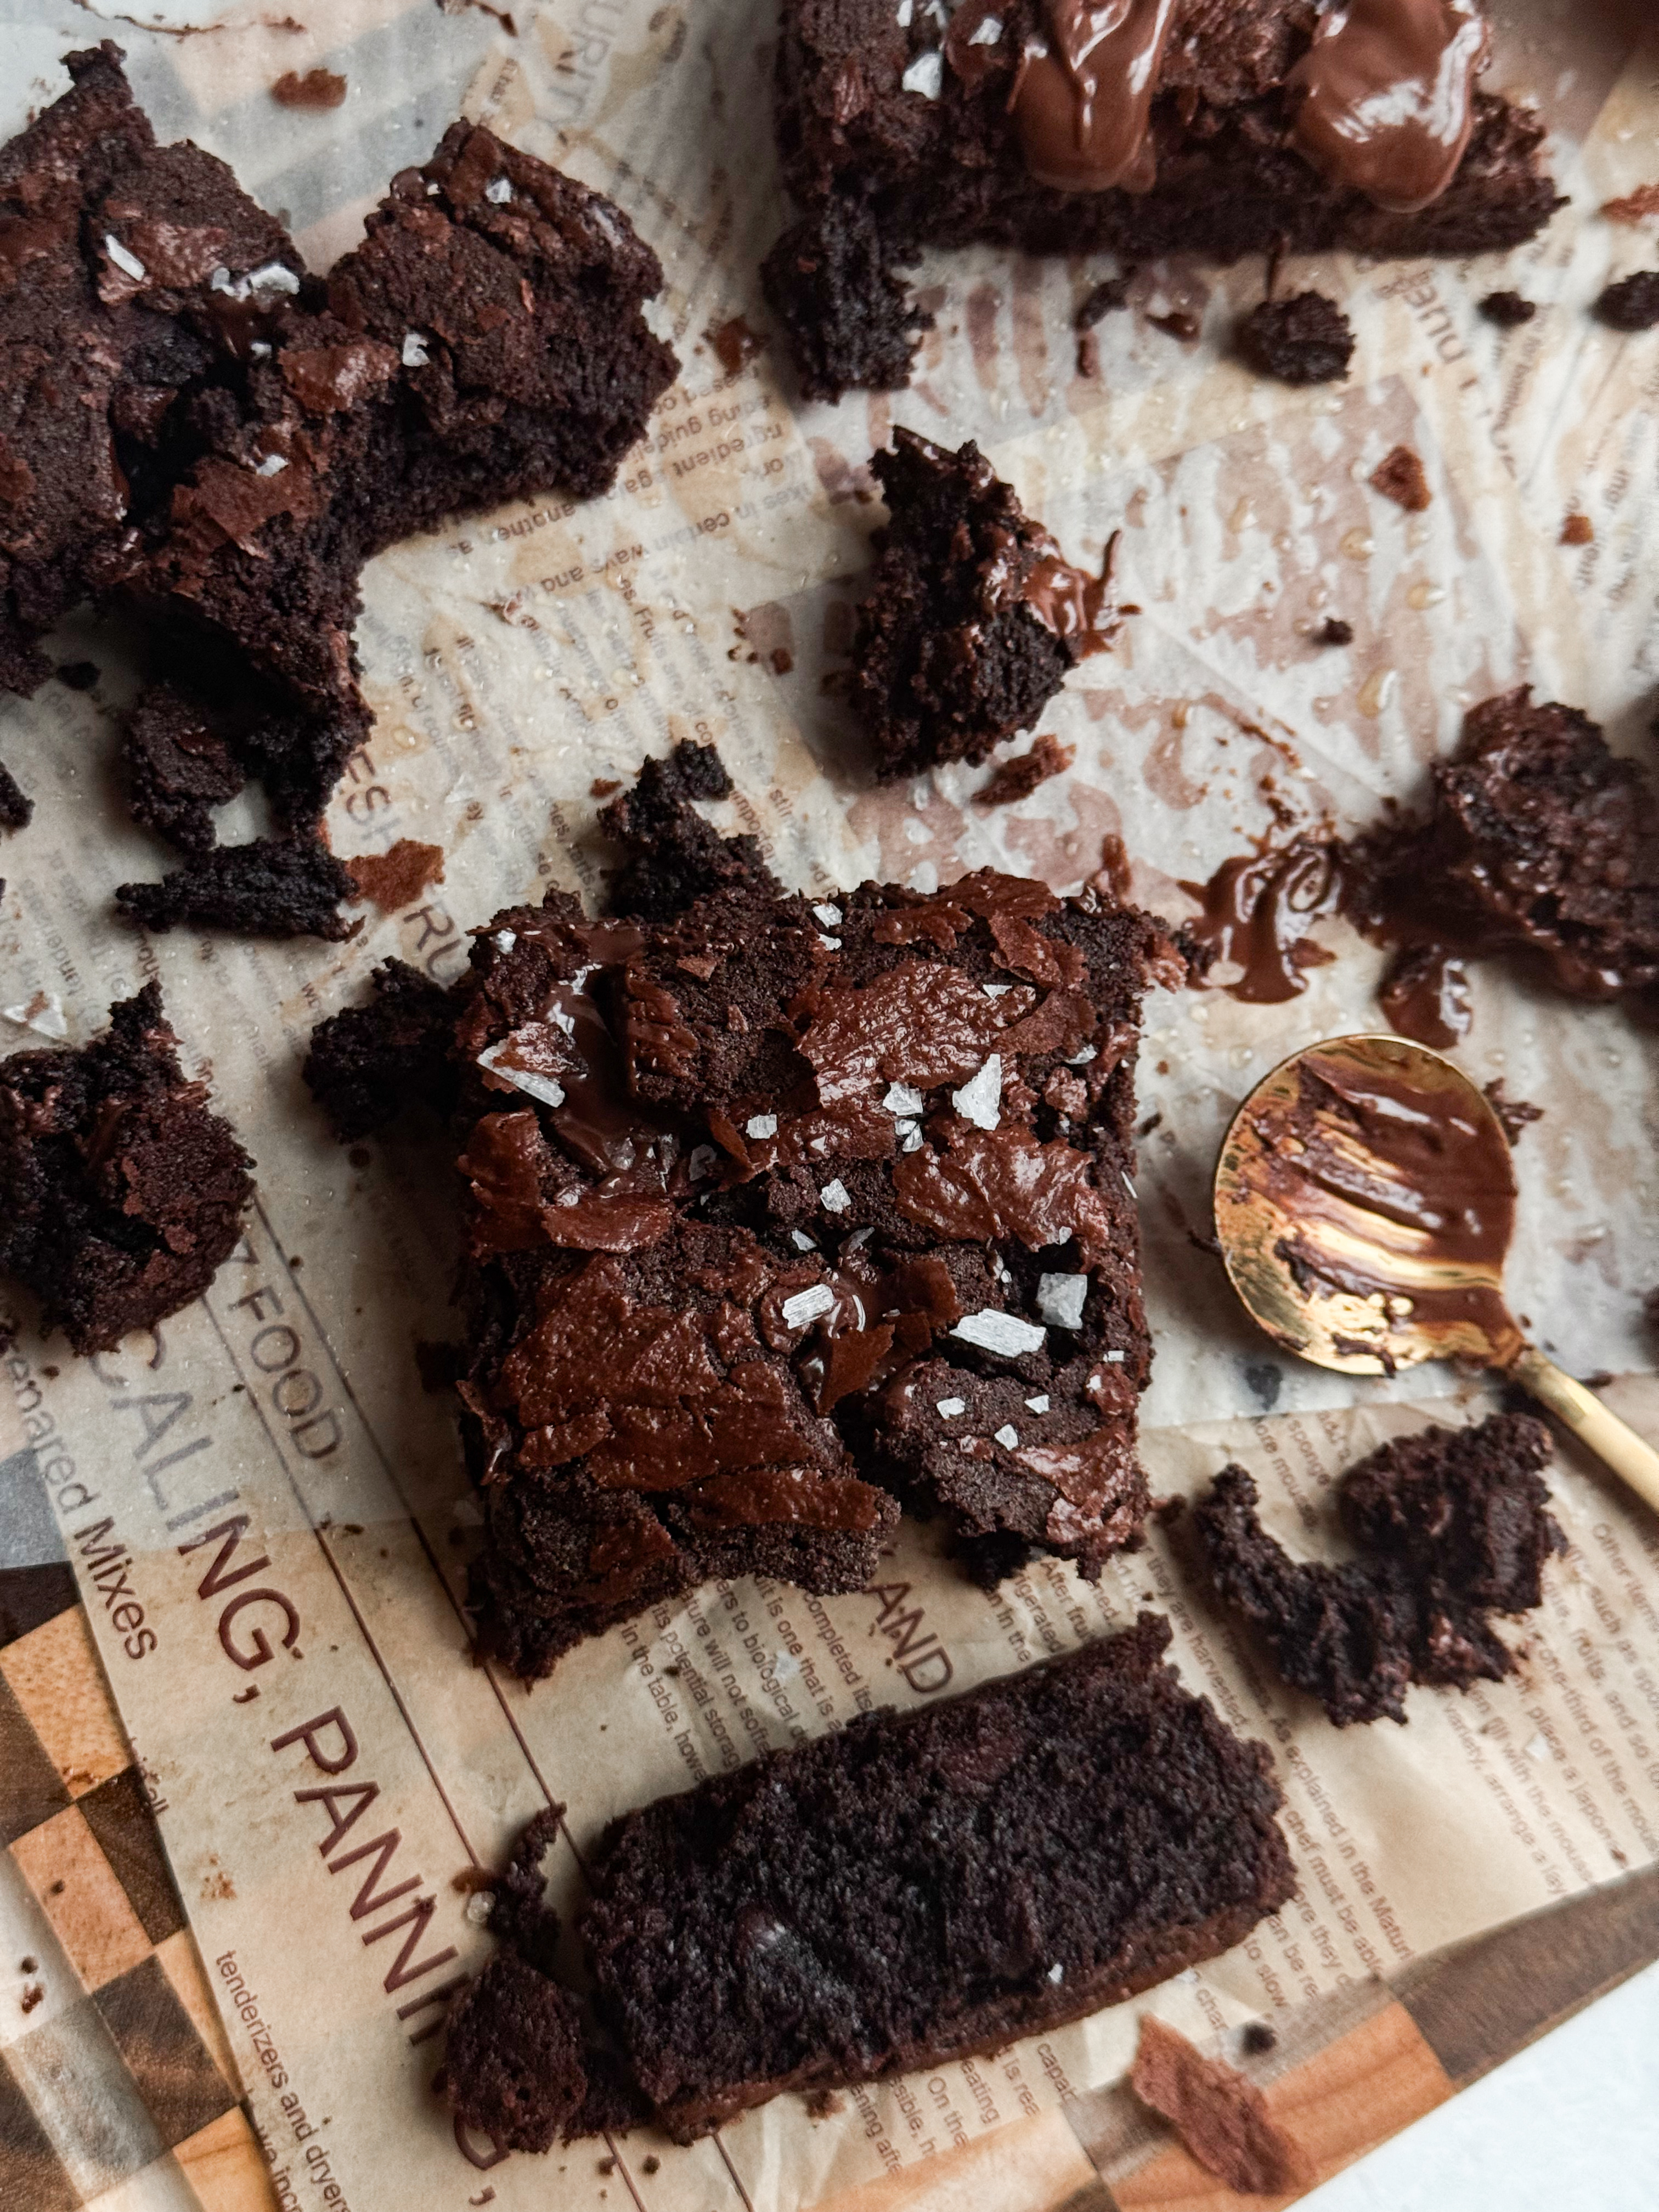
And when I say fudgy, I mean fudgy. These aren't fluffy, cakey brownies pretending to be fudgy because we pulled them from the oven two minutes early. The ingredient ratios and mixing method are specifically designed to create a dense, rich center while still getting that shiny, crinkly brownie top we all want.
The brown butter is what really makes them special. It gives the chocolate this deeper, almost toffee-like flavor without overpowering it. Add a little flaky sea salt on top, and these might just ruin boxed brownies for you.
Why You'll Love These Brown Butter Brownies
I wanted these brownies to hit every single thing I look for in a really good brownie:
- Ultra-fudgy centers thanks to melted chocolate, extra egg yolks, and a relatively low amount of flour.
- Thin, crackly tops from properly whipping the eggs and sugars before adding the chocolate.
- Deep chocolate flavor from both Dutch-process cocoa and bittersweet chocolate.
- Brown butter flavor that adds nutty, caramelized notes without taking over the chocolate.
- Chewy edges that might actually compete with the center pieces.
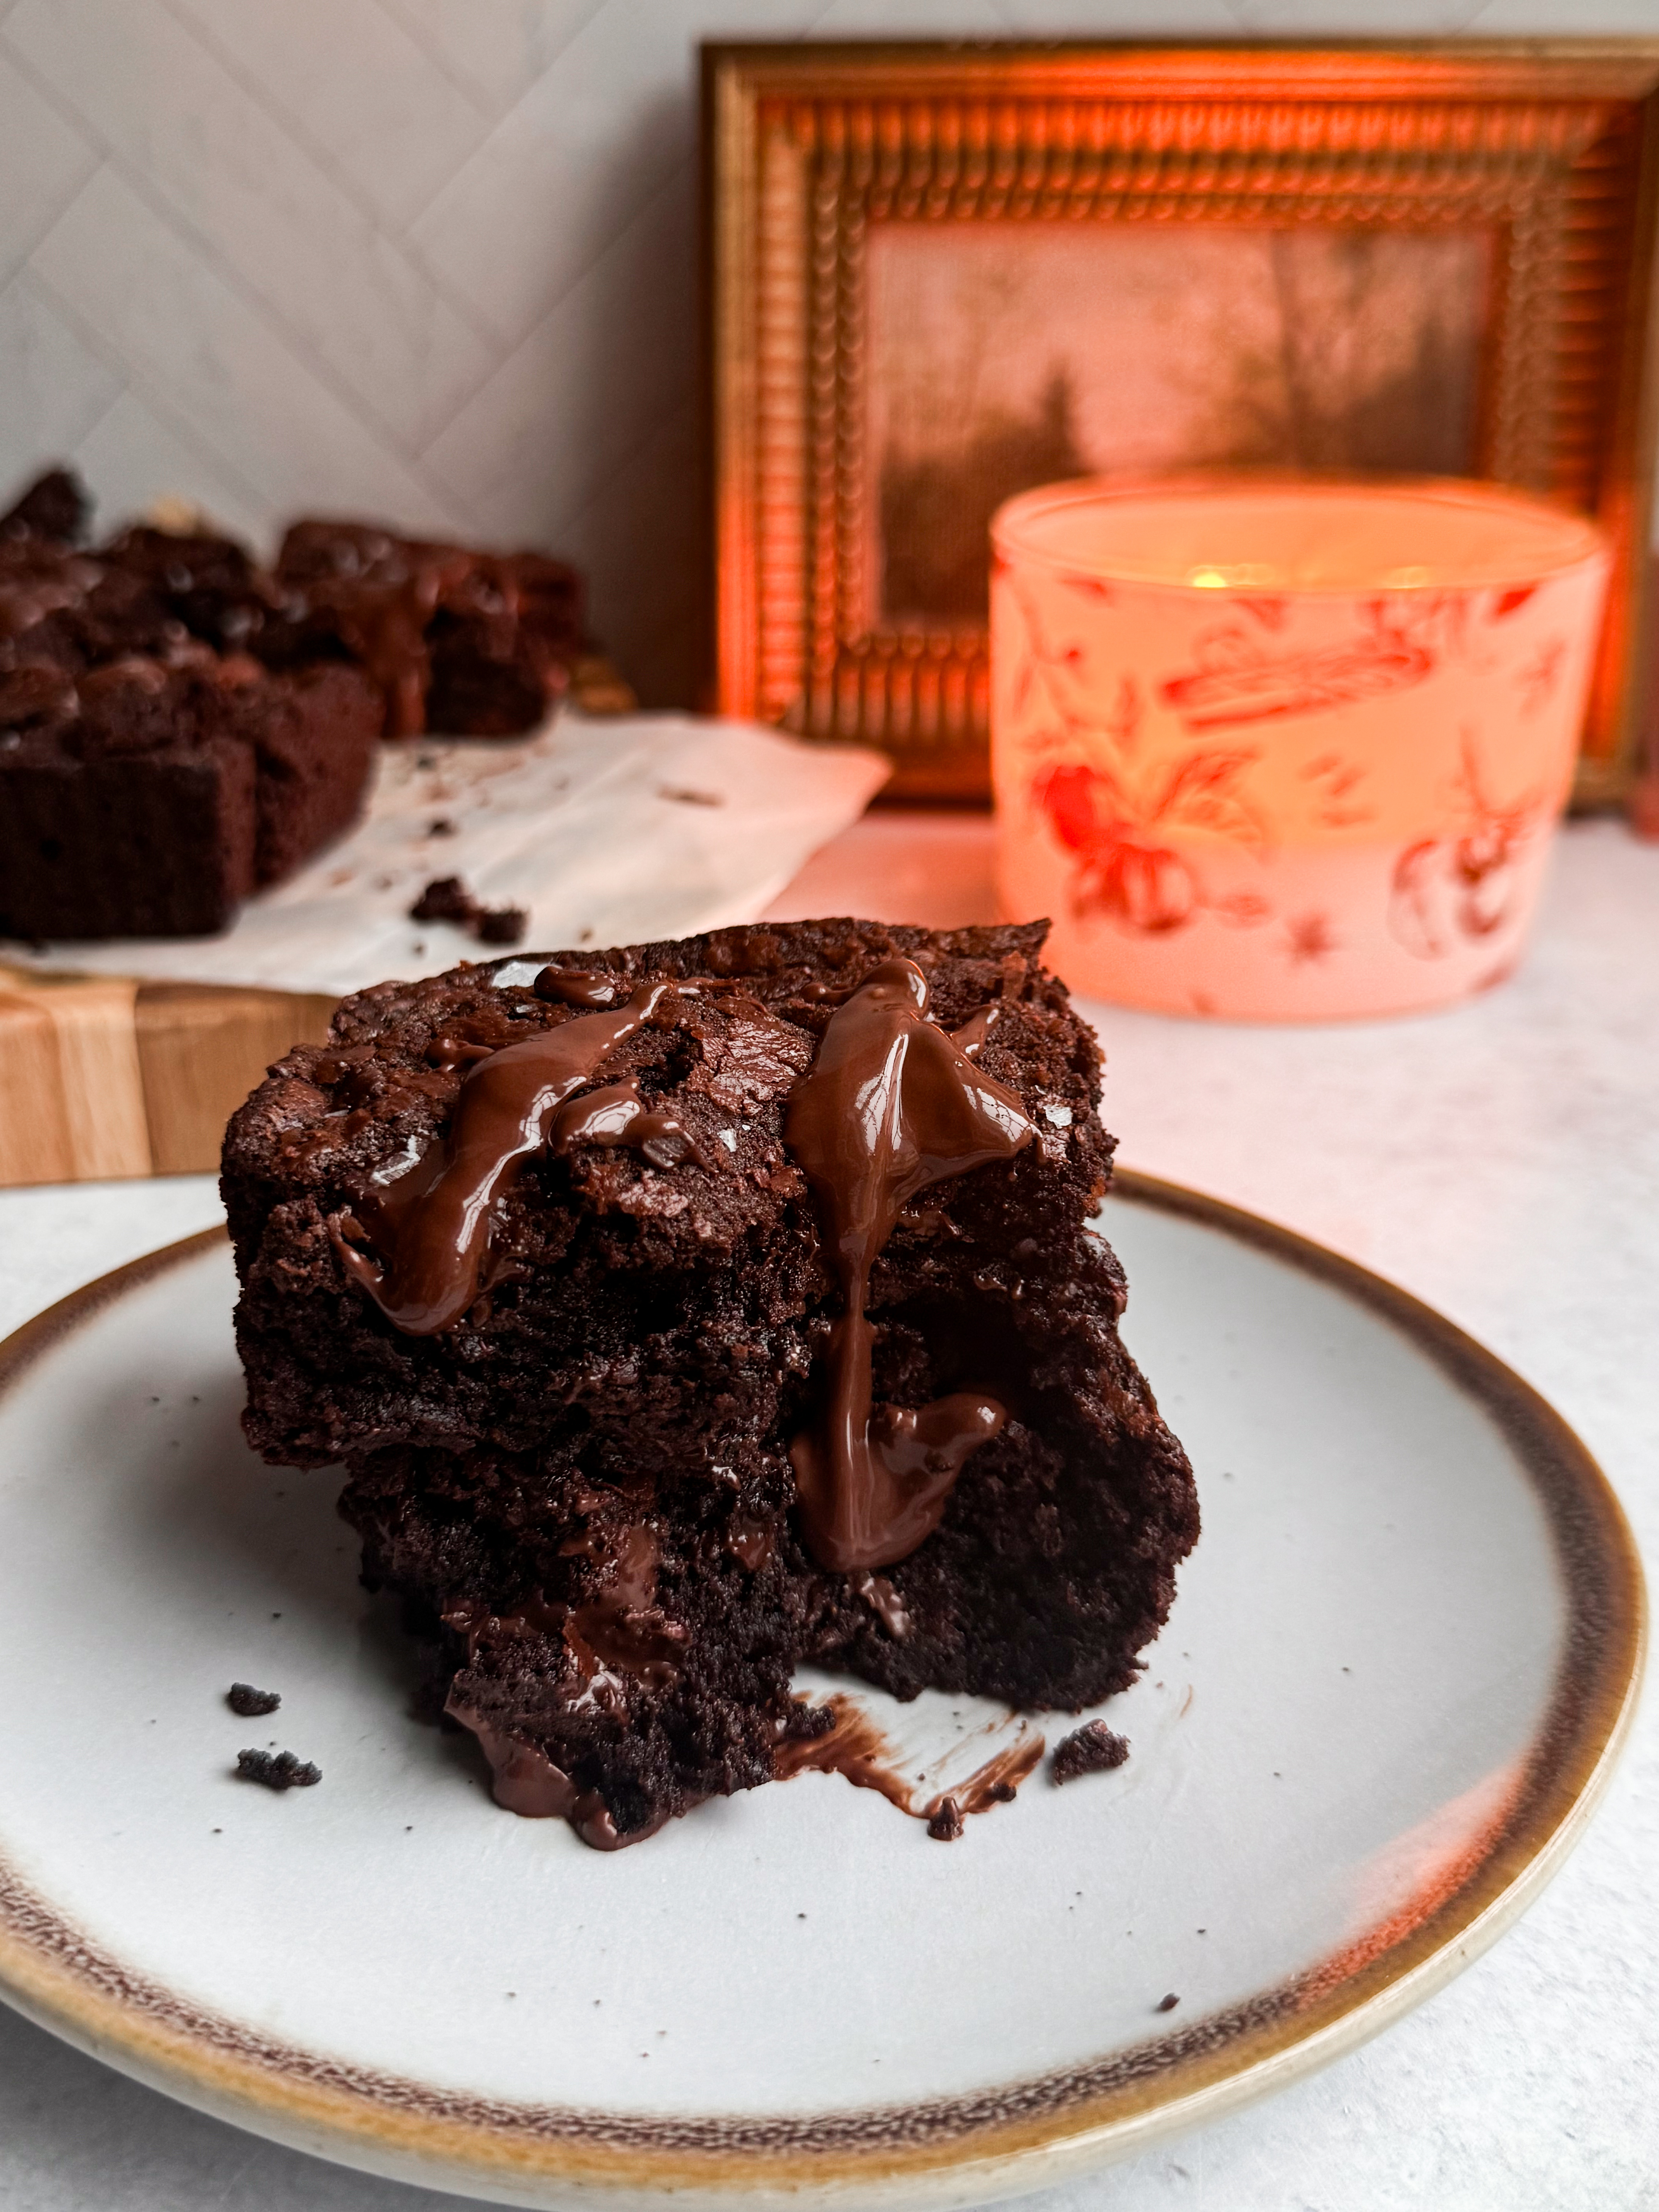
- Pools of melted chocolate throughout every bite.
- No complicated ingredients, just a few intentional techniques that make a huge difference.
If you're firmly on team fudgy brownie, my Brown Butter Brookies should probably be next on your list. They combine a fudgy brownie base with chunks of brown butter chocolate chip cookie dough, because sometimes choosing between the two is simply unnecessary.
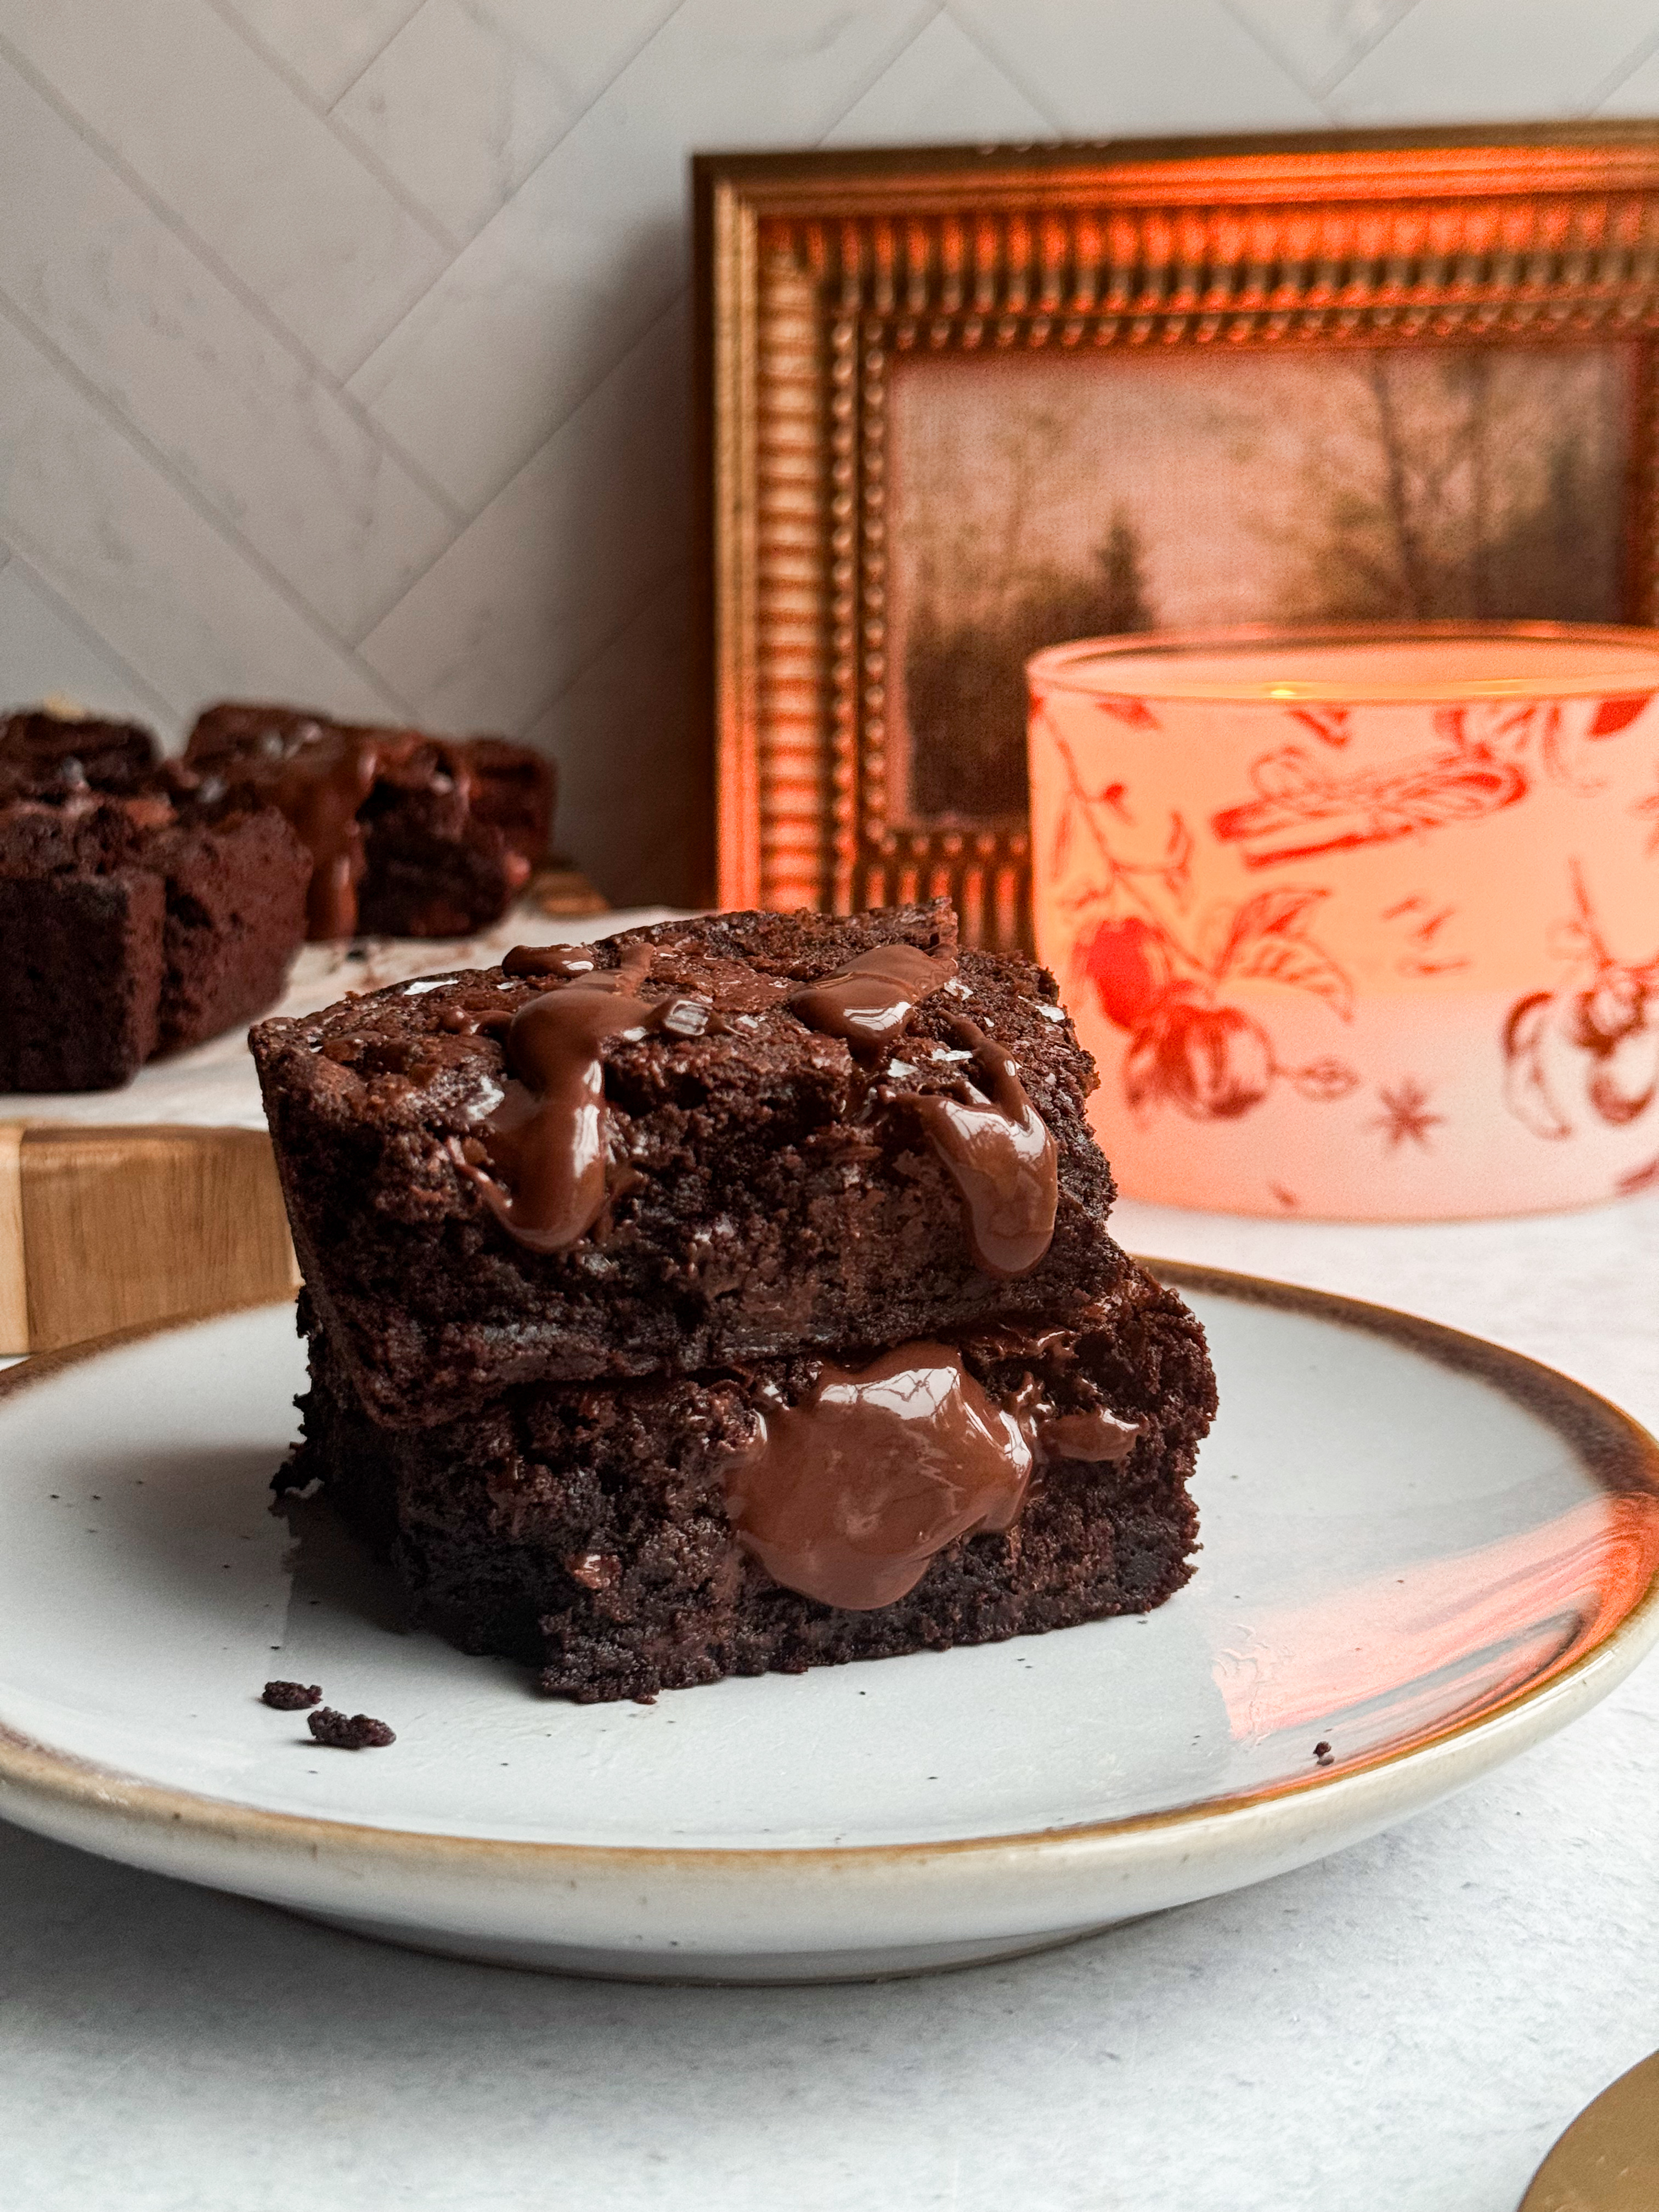
What Makes Brown Butter Brownies Better?
Brown butter is regular butter that's cooked until its milk solids toast and turn golden brown. During that process, the flavor changes from simply buttery to something much deeper and nuttier, with notes of caramel and toasted hazelnut.
Chocolate is a strong flavor, so the brown butter isn't going to make these taste like a brown butter cookie. Instead, it sits in the background and makes the chocolate taste more complex.
There's one catch, though.
Browning butter removes some of its water content. That's one reason I use 3 tablespoons of neutral oil alongside the brown butter in this recipe. The oil contributes pure fat and stays liquid at room temperature, helping the brownies remain soft and fudgy even after they've cooled.
It's a small detail, but it's one of the things that separates these from brownies that are fudgy straight from the oven and noticeably drier the next day.
Ultimate Fudgy Brown Butter Brownies Ingredients
Unsalted Butter: We're browning the butter, so this isn't just providing fat. The toasted milk solids create the nutty, caramelized flavor that makes these brownies different from traditional fudgy brownies.
Keep an eye on it toward the end. There's a very short window between beautifully browned butter and burnt butter.
Bittersweet Chocolate: I recommend chocolate in the 60 to 70% cacao range.
It gives the brownie batter a deep chocolate base without making it overwhelmingly bitter, especially since we're adding additional semi-sweet chocolate later.
Finely chopping it helps it melt quickly and evenly into the hot brown butter.
Neutral Oil: This might seem strange in a brown butter brownie recipe, but it's intentional.
Oil remains liquid at room temperature, while butter firms as it cools. Combining the two gives us the flavor of brown butter while helping preserve that soft, dense brownie texture.
Vegetable or canola oil works well here.
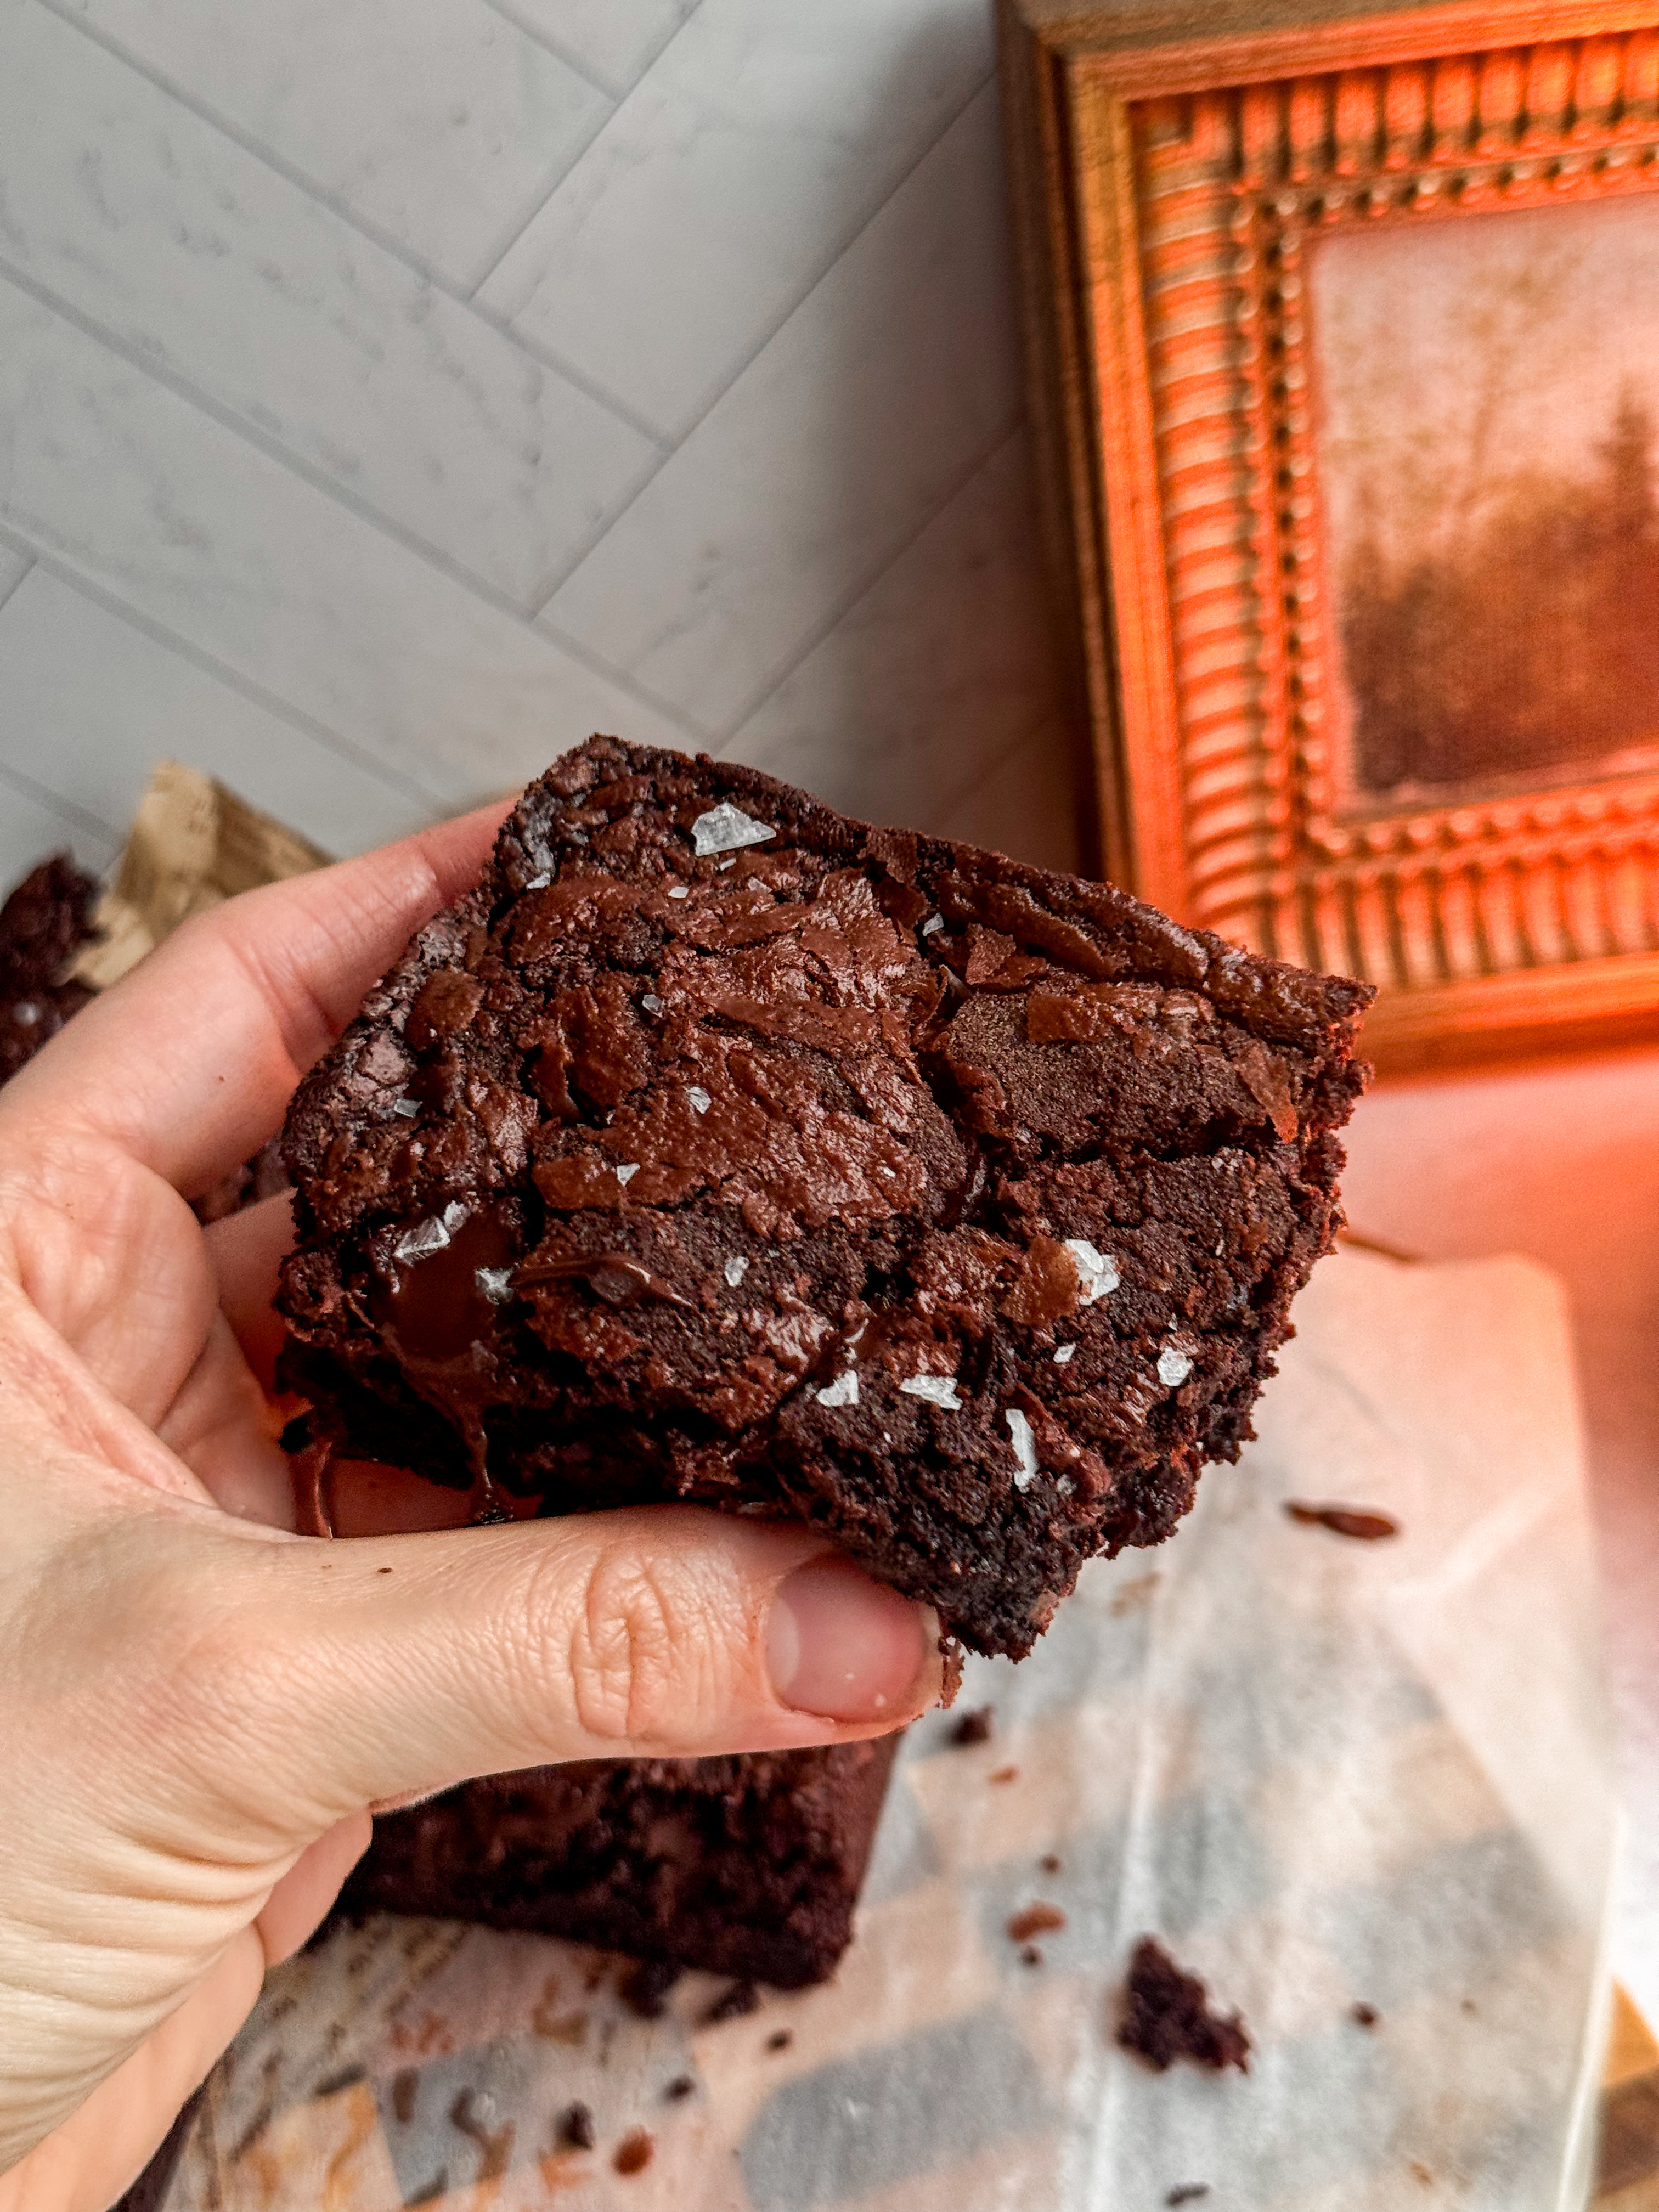
Dutch-Process Cocoa Powder: Dutch-process cocoa has a smooth, dark chocolate flavor that works especially well in rich brownies.
We're also blooming the cocoa in the warm butter and chocolate mixture rather than simply stirring it into the dry ingredients. More on why that matters below.
Whole Eggs + Egg Yolks: Here's another place where the fudgy texture starts.
Whole eggs give the brownies enough structure to hold together, while the two additional yolks contribute fat and richness without adding the extra egg whites that could push the texture toward cakey.
The result is a dense brownie that's still soft rather than dry or crumbly.
Granulated Sugar: Granulated sugar isn't only here for sweetness. It's also important for creating that shiny brownie crust.
Powdered Sugar: Powdered sugar dissolves easily into the egg mixture and helps us create that delicate, paper-thin crackly surface.
Light Brown Sugar: A smaller amount of brown sugar brings moisture, chewiness, and a subtle caramel flavor that complements the brown butter.
Vanilla Extract: Two teaspoons of vanilla might sound like a lot, but in a deeply chocolate dessert like this, it rounds out the cocoa and brown butter beautifully.
All-Purpose Flour: Only ⅔ cup.
Keeping the flour relatively low is important for a fudgy rather than cakey brownie. Once you add it, you'll also want to mix as little as possible.
Semi-Sweet Chocolate Chips or Chopped Chocolate: I especially love chopped chocolate because the irregular pieces create different-sized pools of melted chocolate throughout the brownies.
Chocolate chips work perfectly well too.
1. Prepare Your Pan: Preheat the oven to 350°F.
Lightly grease an 8x8-inch light-colored metal baking pan and line it with parchment paper, leaving enough overhang to lift the brownies out later.
I prefer a light-colored metal pan here because it conducts heat evenly without aggressively browning the edges before the center has finished baking.
2. Brown the Butter
Add the butter to a saucepan over medium heat.
It will melt, begin to foam, and eventually develop little golden-brown specks across the bottom.
Keep stirring or swirling the pan so those milk solids toast evenly.
Once the butter smells distinctly nutty and the milk solids are a deep golden brown, immediately remove it from the heat.
3. Melt the Chocolate
Add the finely chopped bittersweet chocolate directly to the hot brown butter.
Let it sit for about 30 seconds before whisking until completely smooth.
4. Bloom the Cocoa
Whisk the neutral oil and Dutch-process cocoa into the warm chocolate mixture.
It should become dark, smooth, and glossy.
Set this mixture aside until it's warm but no longer piping hot. Adding extremely hot chocolate to your eggs could affect their texture.
5. Whip the Eggs and Sugars
This is probably the most important step for getting that shiny crackly brownie top.
Combine the whole eggs, egg yolks, granulated sugar, and brown sugar in a large mixing bowl.
Using an electric mixer, beat on medium-high speed for about 3 to 4 minutes.
You'll actually see the mixture change. It should become lighter in color, thicker, and noticeably glossy.
Add the powdered sugar, vanilla, and salt and beat for another 1 to 2 minutes.
Don't rush this step.
You're helping dissolve the sugar while incorporating air into the eggs, both of which contribute to that delicate, shiny crust.
6. Add the Chocolate Mixture
With the mixer running on low, slowly pour the warm chocolate-brown-butter mixture into the egg mixture.
Mix only until everything is smooth and evenly combined.
7. Fold in the Flour
Add the flour and switch to a silicone spatula.
Fold gently until you can still see just a few streaks of flour.
Add your chocolate chips or chopped chocolate and continue folding until those final flour streaks disappear.
Then stop.
Overmixing once flour has been added develops more gluten and can make the brownies tougher instead of dense and tender.
8. Bake
Spread the brownie batter evenly into your prepared pan.
Add a few extra pieces of chocolate to the top if you'd like.
Bake for 28 to 34 minutes.
This is one recipe where I don't recommend relying solely on the timer.
Your brownies are ready when:
- The edges look set and slightly puffed.
- The top is shiny and crackled.
- The center doesn't look liquid.
- The middle may still have the slightest wobble.
- A toothpick near the edge comes out with moist crumbs.
- A toothpick in the center has thick, fudgy crumbs rather than raw batter.
9. Tap the Pan
Immediately after removing the brownies from the oven, gently tap the pan against the counter once or twice.
This settles some of the air in the center and helps create that dense, fudgy texture as the brownies cool.
Finish with flaky sea salt while they're still warm.
10. LET THEM COOL
Yes, this deserves capital letters.
I know warm brownies smell incredible. I know the melted chocolate is right there. But these brownies need time to set.
Let them cool completely in the pan for at least 1½ to 2 hours.
The texture changes significantly as the chocolate and fats cool. If you slice them immediately, the center can look underbaked even when it isn't.
For exceptionally clean bakery-style slices, refrigerate the completely cooled brownies for about 30 minutes before cutting.
How to Tell Get Crackly Tops on Brownies
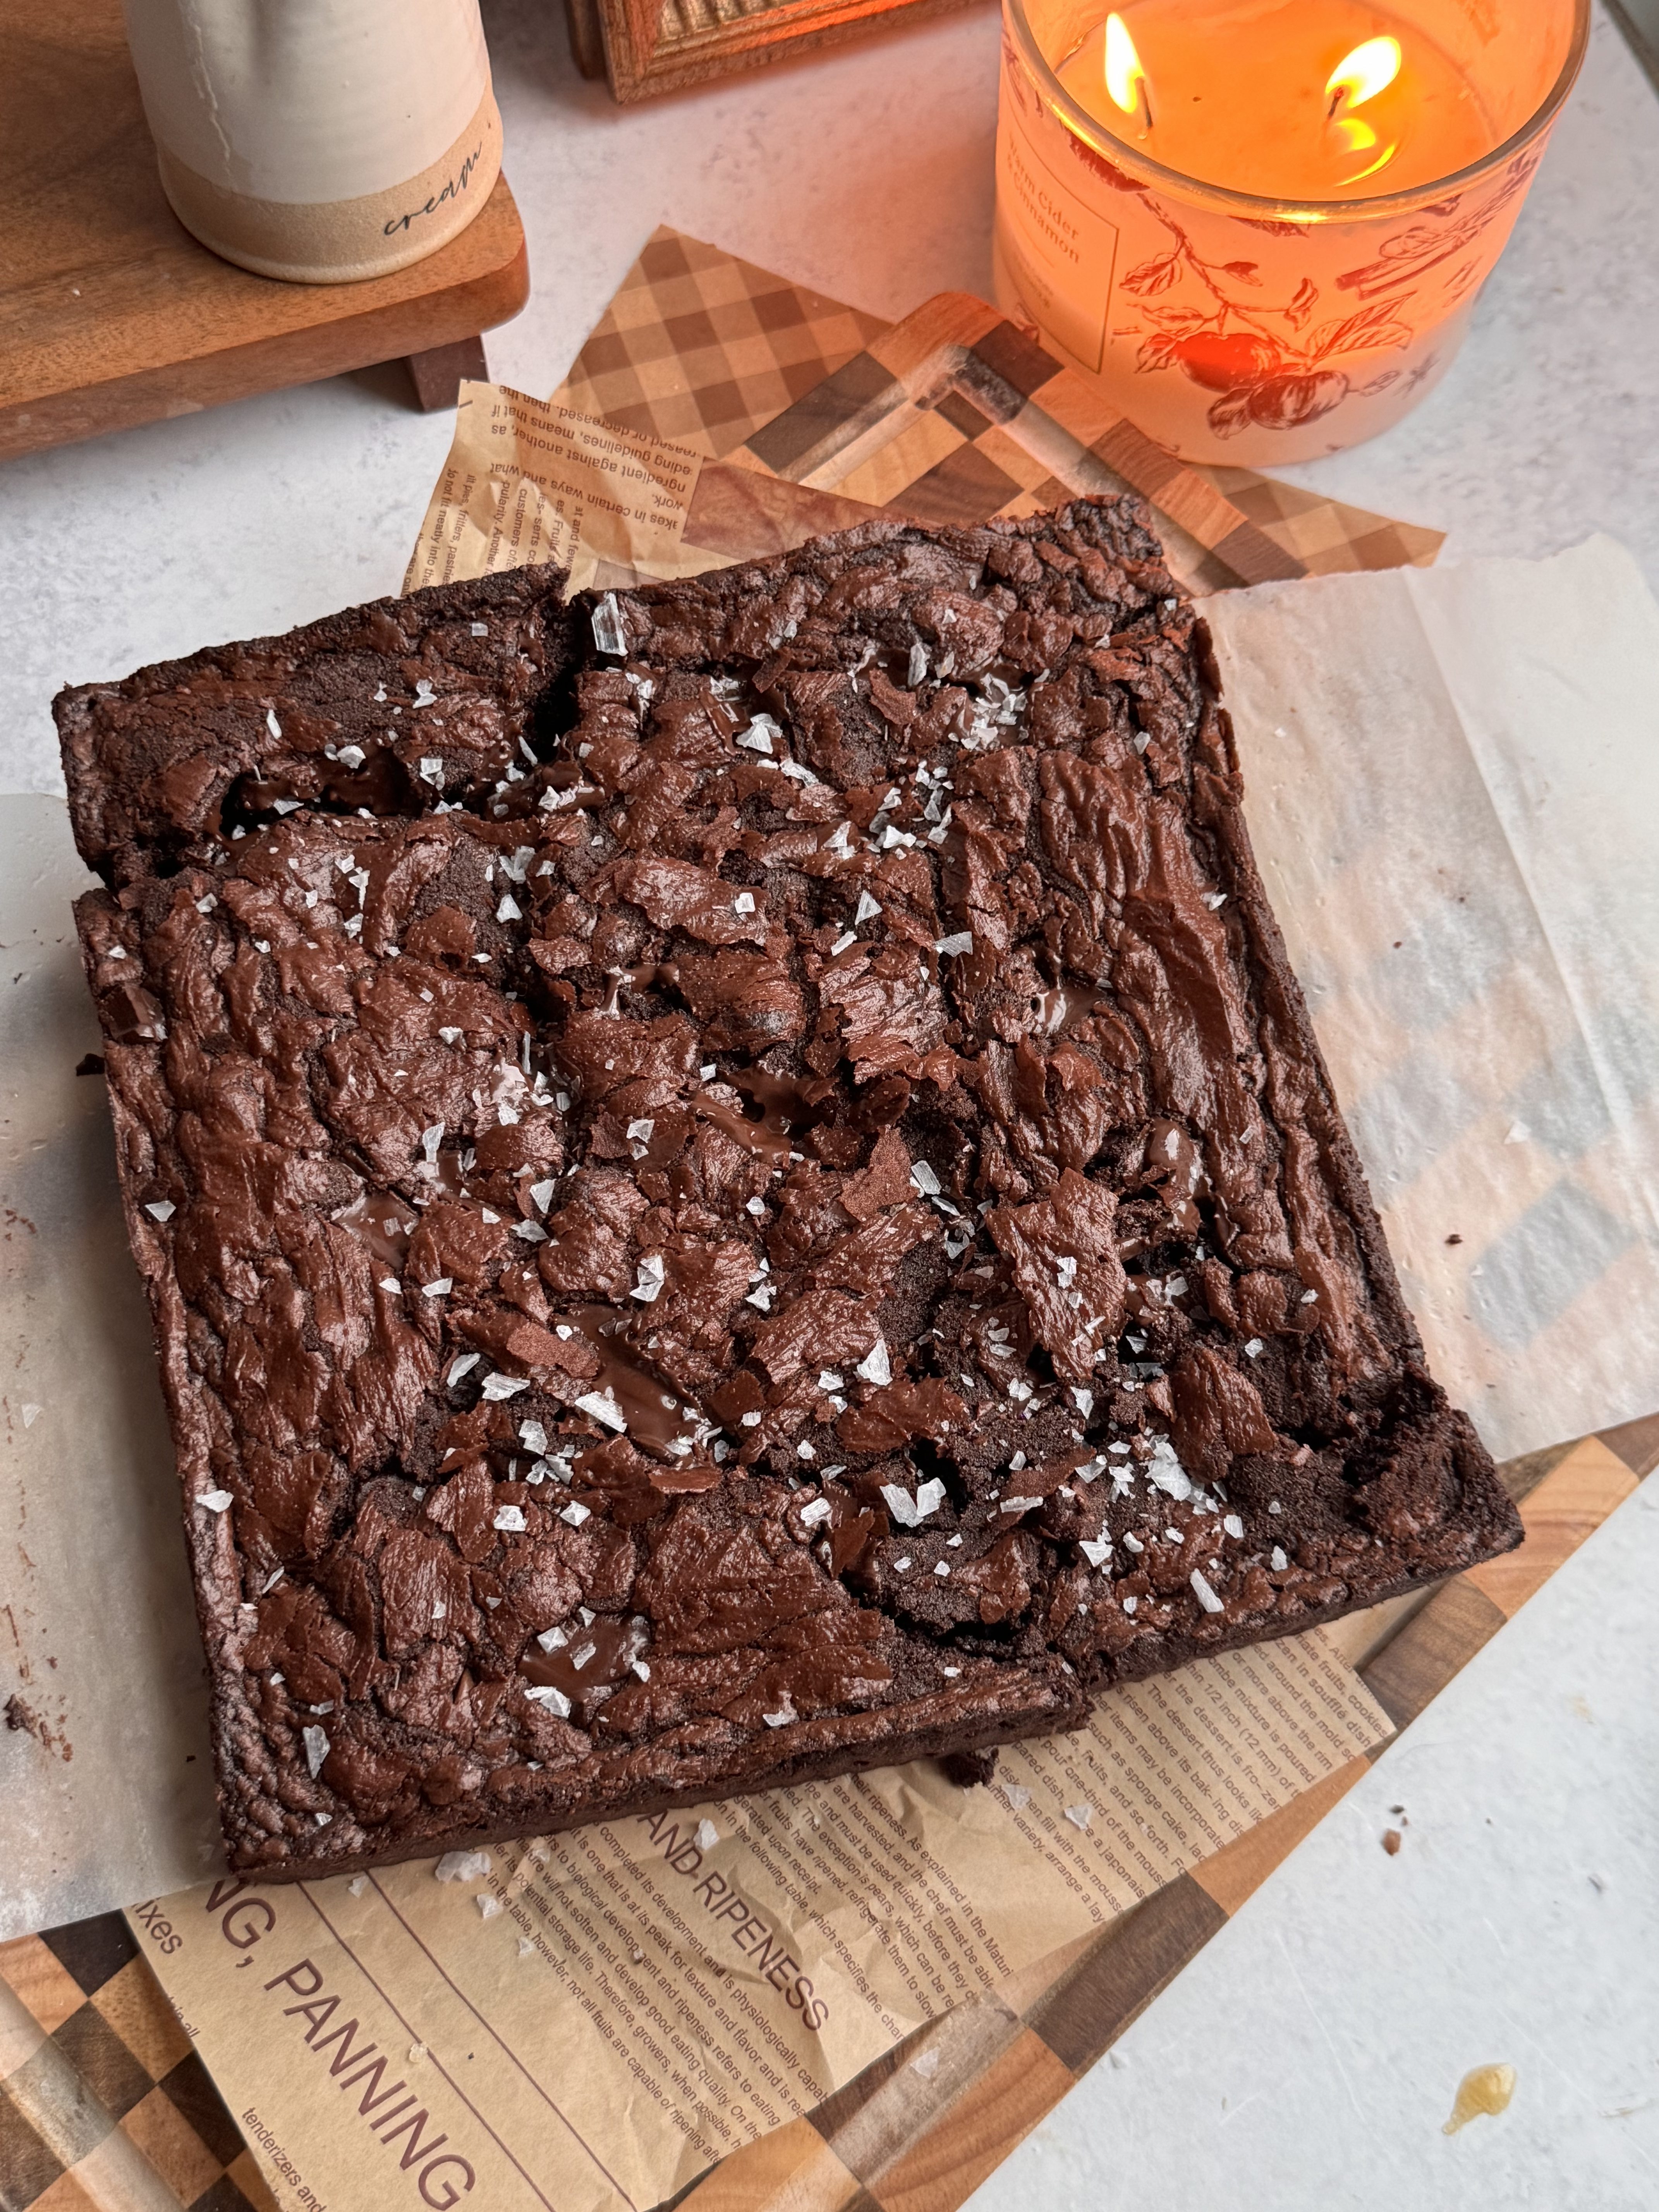
That shiny, paper-thin brownie crust comes primarily from well-dissolved sugar and properly aerated eggs.
For this recipe, beat the eggs, yolks, granulated sugar, and brown sugar for a full 3 to 4 minutes before adding the powdered sugar. The mixture should visibly thicken and become glossy.
This creates a thin layer at the surface during baking that dries into that signature crackly crust.
In other words: don't shorten the whipping time.
How to Tell When Fudgy Brownies Are Done
This can be tricky because the toothpick test we use for cake doesn't work quite the same way for fudgy brownies.
A completely clean toothpick can actually mean you've gone too far.
Instead, insert a toothpick about an inch from the edge. It should come out with moist crumbs.
The center can leave thick, fudgy crumbs or melted chocolate on the toothpick. What you don't want is thin, obviously raw batter.
Remember that brownies continue setting considerably as they cool.
My Tips for the Best Fudgy Brownies
Weigh your ingredients. With only ⅔ cup of flour, small measurement differences matter. Too much flour can noticeably change the final texture.
Don't burn the brown butter. Once you see golden milk solids, stay at the stove. They'll darken quickly.
Let the chocolate mixture cool slightly. You want it warm enough to remain fluid but not scorching hot when it meets the eggs.
Actually whip the eggs and sugar. Stirring them together isn't enough if you want that crackly top.
Don't overmix after adding flour. Fold just until everything comes together.
Use visual cues for doneness. Ovens and pans vary. Start checking around 28 minutes rather than automatically baking to 34.
Err slightly on the side of underbaking. For fudgy brownies, an extra two minutes can make a surprisingly big texture difference.
Common Brownie Mistakes and How to Avoid Them
Why are my brownies cakey instead of fudgy?
Cakey brownies usually come from too much flour, too much air in the final batter, or overbaking.
Whipping the eggs is important for the crust, but once the chocolate and flour are incorporated, mix gently and minimally.
Why don't my brownies have a crackly top?
The sugar may not have dissolved sufficiently into the eggs.
Give the egg-and-sugar mixture the full whipping time listed in the recipe and make sure it looks thick and glossy before moving on.
Why are my brownies dry?
The most common culprits are overmeasured flour and overbaking.
For this recipe, don't wait for a completely clean toothpick. Moist, fudgy crumbs are exactly what you want.
Why did my brownies fall apart when I sliced them?
They probably needed more cooling time.
These brownies are intentionally very fudgy. The melted chocolate and butter need time to cool and set before the brownies develop their final texture.
Can I use a glass baking dish?
I strongly recommend an 8x8-inch light-colored metal pan for the most predictable results.
Glass retains heat differently and can lead to overcooked edges while you're waiting for the middle to set. If you change the pan material, expect the baking time and final texture to vary.
How to Store the Ultimate Fudgy Brown Butter Brownies
Store completely cooled brownies in an airtight container at room temperature for up to 4 days.
I actually think the texture gets even fudgier after they've had several hours to sit. The chocolate sets, the flavors deepen, and the centers become incredibly dense and rich.
If you refrigerate them, let the brownies sit at room temperature for 15 to 20 minutes before eating if you prefer a softer texture.
Can you Freeze Brownies
Absolutely. Brownies freeze incredibly well.
Allow them to cool completely before slicing. Wrap individual brownies tightly and transfer them to a freezer-safe container or bag.
Freeze for up to 3 months.
Thaw individual brownies at room temperature or overnight in the refrigerator.
You can also warm a thawed brownie in the microwave for a few seconds if you want those chocolate chunks to get melty again.
FAQs
Does brown butter make brownies taste different?
Yes. Browning butter toasts its milk solids, creating nutty, caramelized flavors that give chocolate brownies more depth. The brownies won't taste overwhelmingly like brown butter. Instead, it enhances the chocolate and adds a subtle toasted, almost toffee-like flavor.
What makes brownies fudgy instead of cakey?
Fudgy brownies typically use a higher proportion of fat and chocolate relative to flour. This recipe also uses two additional egg yolks for richness and only ⅔ cup flour, creating a dense, moist center instead of an airy cake-like crumb.
Can I make these brownies the day before?
Yes, and they're actually an excellent make-ahead dessert. Let the brownies cool completely, cover the pan tightly, and slice the following day. The rested brownies will be particularly dense and fudgy.
Can I leave out the chocolate chips?
Yes. The brownie itself will still be rich and chocolatey. The extra chocolate simply creates gooey pockets throughout the center.
Why use powdered sugar in brownies?
Powdered sugar dissolves readily into the egg mixture. Combined with properly whipped eggs and granulated sugar, it helps encourage the smooth, paper-thin crackly crust on top of these brownies.
Should brownies cool before cutting?
Yes. For very fudgy brownies like these, cooling is part of the recipe. Allow at least 1½ to 2 hours for the fats and chocolate to set before slicing. For especially clean cuts, chill the cooled brownies for another 30 minutes.
If you make this Ultimate Fudgy Brown Butter Brownies, I would really appreciate a comment and rating down below, under the recipe card. Don’t forget to take a picture and tag me over on Instagram, Tik Tok, or Pinterest. For more ideas, check out my Dessert Recipes page.
Ultimate Fudgy Brown Butter Brownies
Ingredients
- ¾ cup unsalted butter
- 5 oz bittersweet chocolate 60–70%, finely chopped
- 3 tbsp neutral oil
- ½ cup Dutch-process cocoa powder
- 2 large eggs room temperature
- 2 large egg yolks room temperature
- ¾ cup granulated sugar
- ¾ cup powdered sugar
- ¼ cup packed light brown sugar
- 2 tsp vanilla extract
- ¾ tsp fine sea salt
- ⅔ cup all-purpose flour
- ¾ cup semi-sweet chocolate chips or chopped chocolate
- Flaky sea salt optional
Instructions
- Preheat the oven to 350°F. Lightly grease an 8×8-inch light-colored metal baking pan and line it with parchment paper, leaving an overhang on two sides.
- Add the butter to a medium saucepan over medium heat. Cook, stirring frequently, as the butter melts, foams, and begins to turn golden. Continue cooking until the milk solids at the bottom are deep golden brown and the butter smells nutty.
- Immediately remove the pan from the heat. Add the chopped bittersweet chocolate and let it sit for about 30 seconds. Whisk until completely melted and smooth.
- Whisk the oil and cocoa powder into the warm chocolate mixture. The heat helps bloom the cocoa and intensify its chocolate flavor. Set aside to cool until warm, but no longer hot.
- Meanwhile, add the eggs, egg yolks, granulated sugar, and brown sugar to a large mixing bowl. Using an electric hand mixer, beat on medium-high speed for 3–4 minutes, until the mixture is noticeably lighter, thicker, and glossy.
- Add the powdered sugar, vanilla, and salt. Beat for another 1–2 minutes, until smooth and glossy.
- Slowly pour the warm chocolate-brown-butter mixture into the egg mixture while whisking on low speed. Mix just until smooth and completely incorporated.
- Add the flour and gently fold with a silicone spatula until only a few streaks of flour remain.
- Fold in the chocolate chips or chopped chocolate until just combined. Don’t continue mixing once the flour disappears.
- Pour the batter into the prepared pan and spread it evenly into the corners. Sprinkle a few additional chocolate chunks over the top if desired.
- Bake for 28–34 minutes. The edges should look set and slightly puffed, the top should be shiny and crackled, and the center should no longer look liquid but may have the slightest wobble when you gently move the pan.
- A toothpick inserted about 1 inch from the edge should have moist crumbs. One inserted into the center can have thick, fudgy crumbs and melted chocolate, but shouldn’t be coated in completely raw batter.
- Immediately after removing the brownies from the oven, gently tap the pan once or twice against the counter. This helps settle the center into that dense, fudgy texture.
- Sprinkle with flaky sea salt, if desired. Let the brownies cool completely in the pan for at least 1½–2 hours before lifting them out and slicing.
- For super clean, dense slices, refrigerate the cooled brownies for about 30 minutes before cutting.