
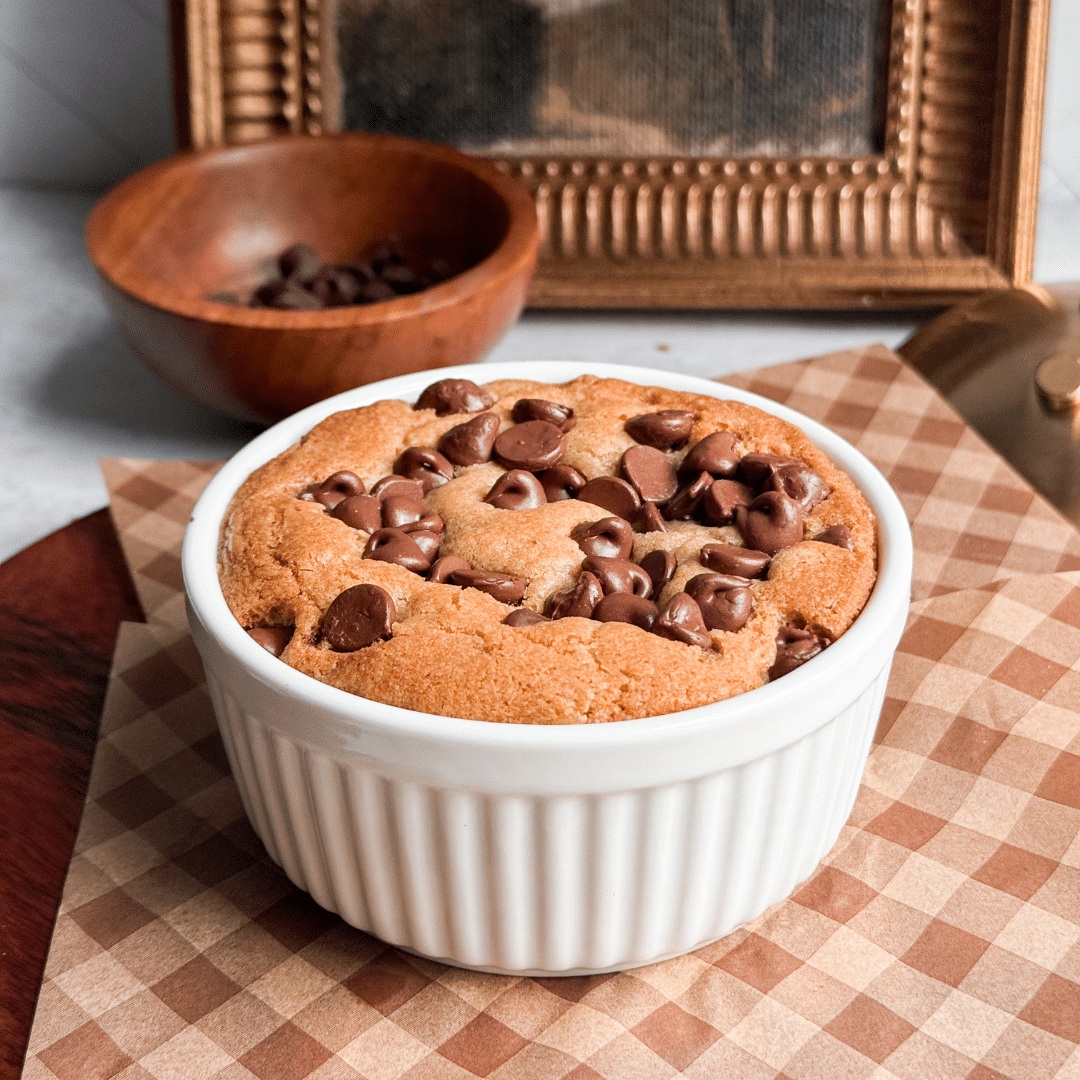
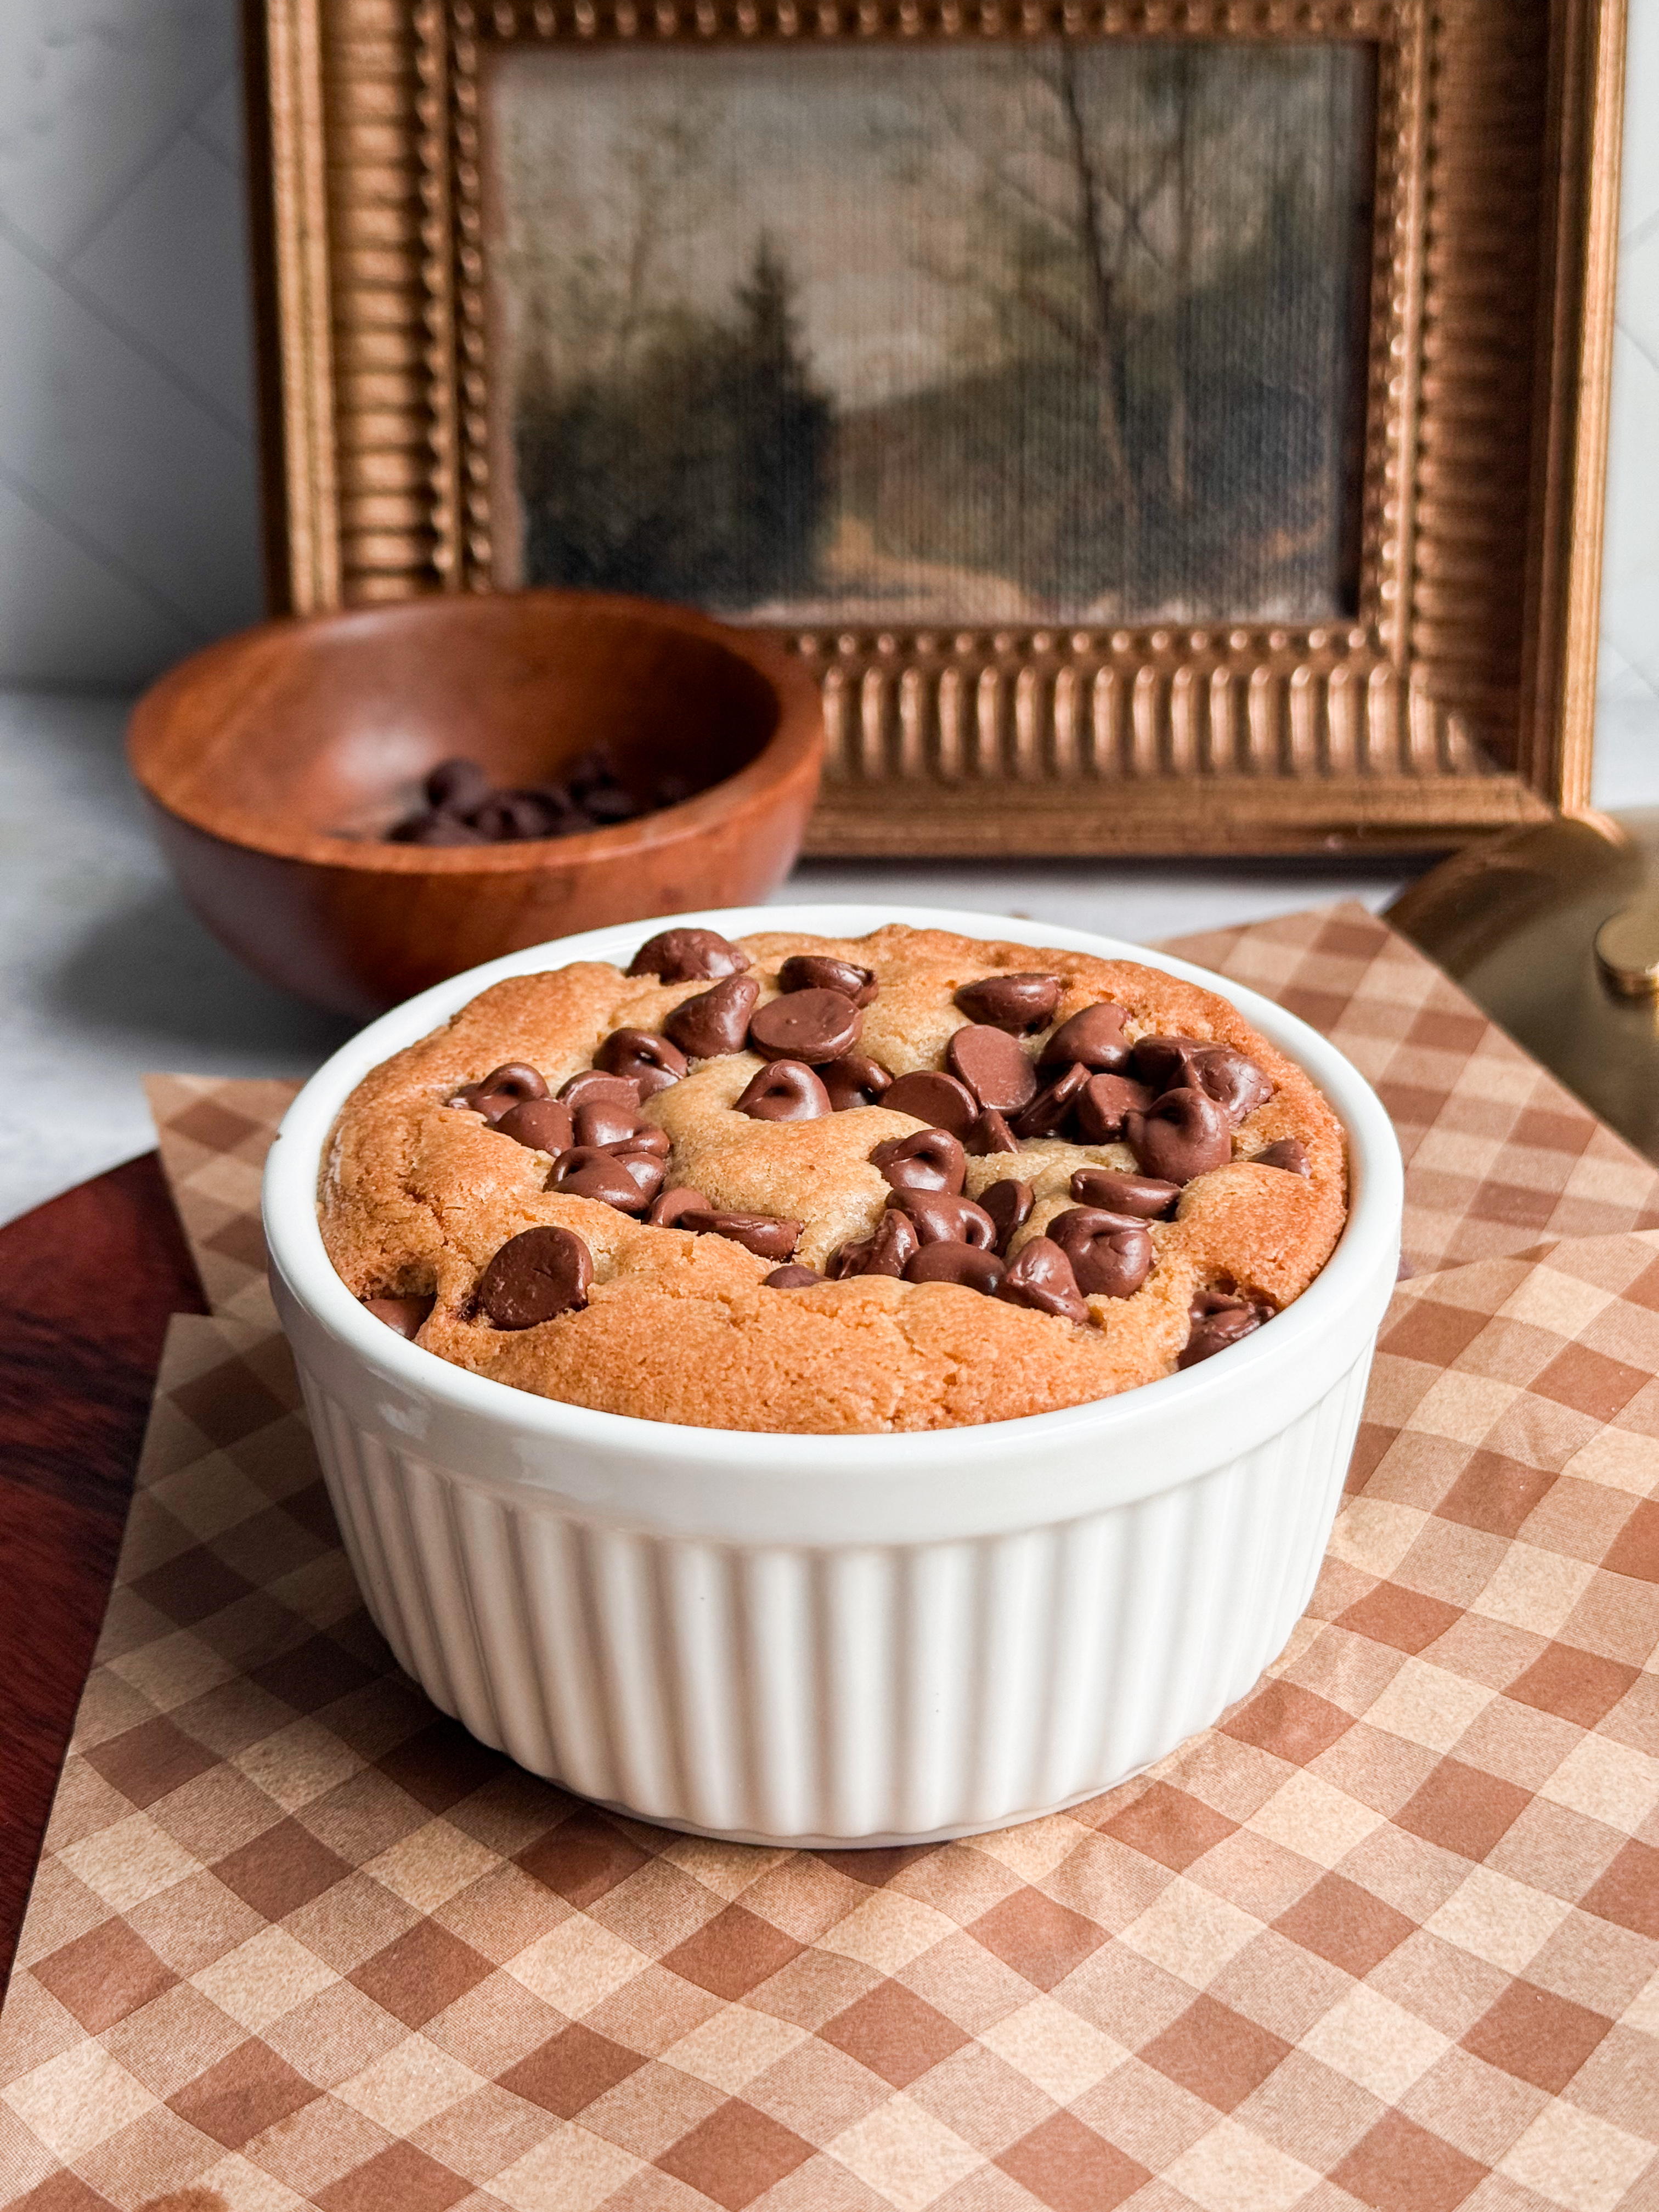
When you're craving a warm chocolate chip cookie but don't want an entire batch sitting on your counter, this Chocolate Chip Cookie Mug Cake is exactly what you need.
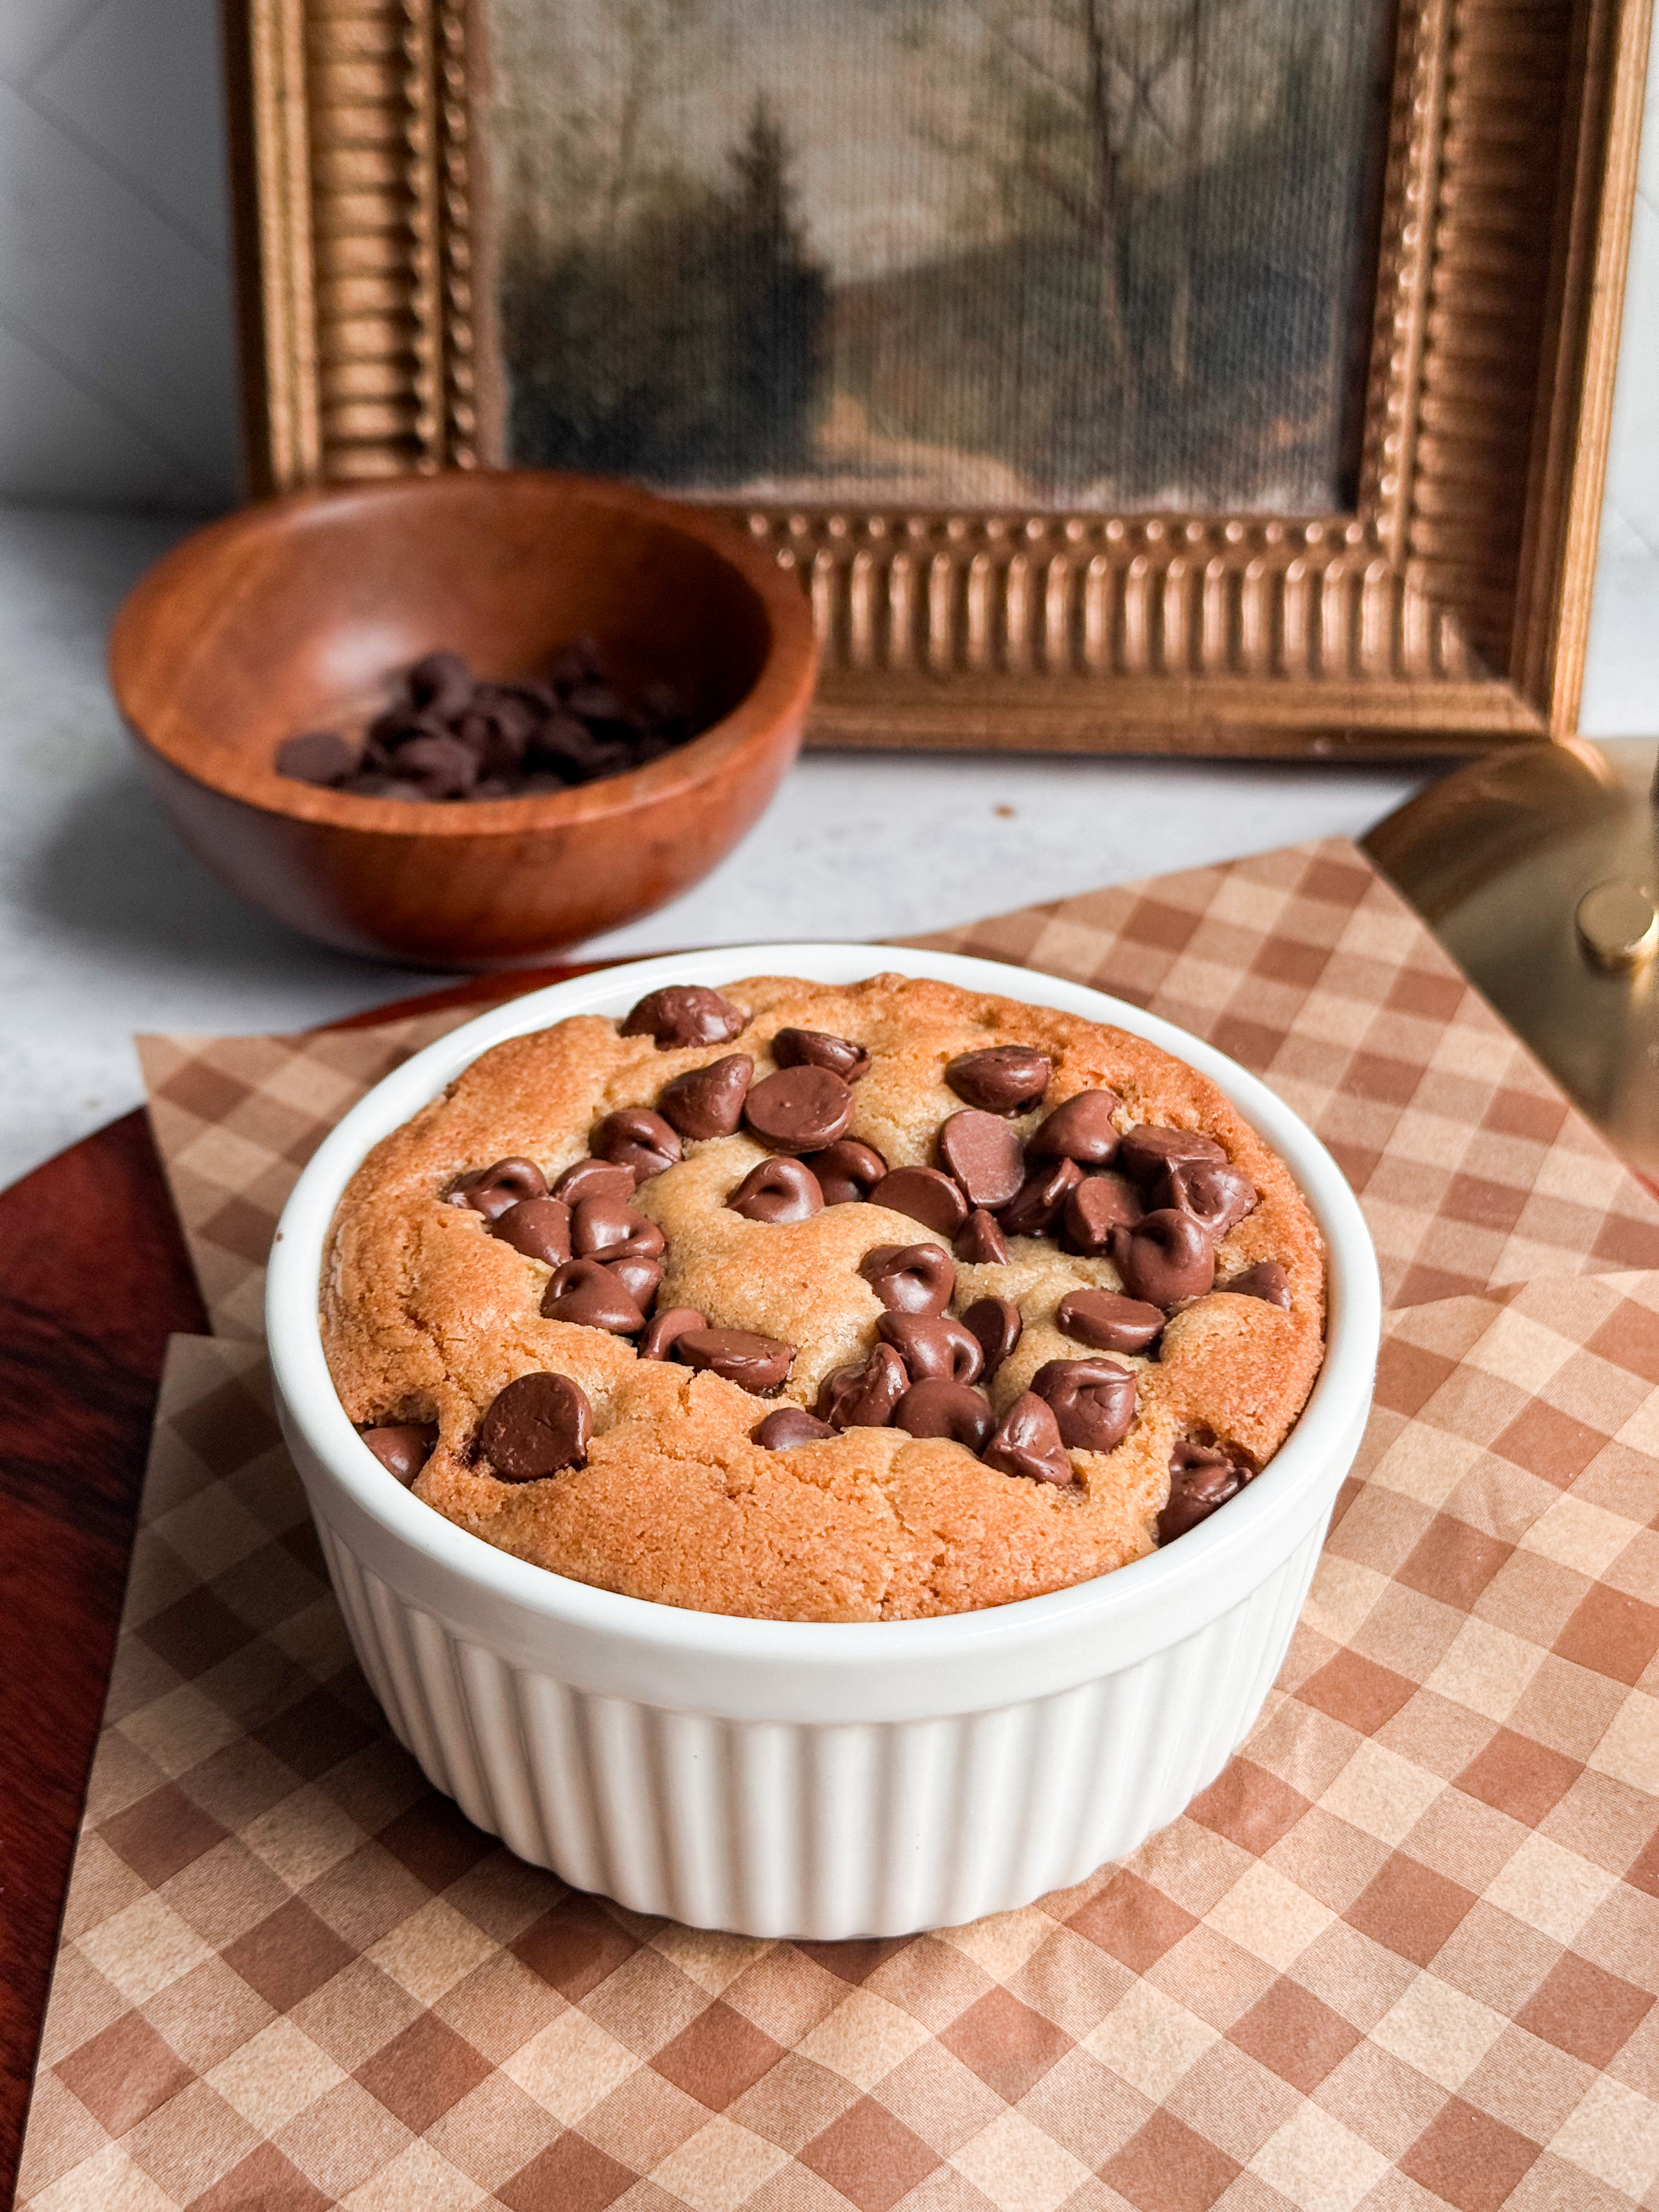
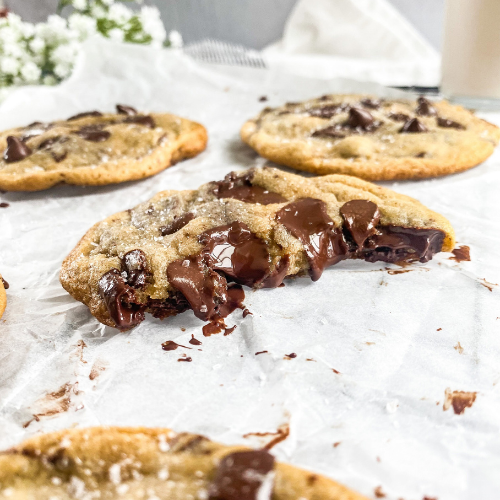
Think of it as the perfect cross between a gooey chocolate chip cookie and a deep dish skillet cookie, just scaled down for one. It's baked in the oven until the edges are lightly golden, while the center stays soft, buttery, and packed with melty chocolate chips.
Unlike most mug cakes that are made in the microwave, this recipe is baked in a ramekin. That means you get crisp edges, a tender center, and a cookie that tastes like it came straight from your favorite bakery.
Top it with a scoop of vanilla ice cream, a sprinkle of flaky sea salt, or simply grab a spoon and dig in while it's still warm.
why you'll love them!
There are plenty of single-serve cookie recipes online, but this one has become my favorite because it actually tastes like a bakery cookie instead of a quick microwave dessert.
Here's why I keep coming back to it:
- Soft, gooey center
- Golden, buttery edges
- Ready in about 30 minutes
- No mixer required
- Made with pantry staples
- Perfect when you're craving "just one cookie"
- Delicious with vanilla ice cream
If you've been loving my Salted Caramel Coffee Cake Mug Cake, Cookies and Cream Chocolate Mug Cake, or Carrot Cake Mug Cake, this recipe is another cozy addition to the mug cake series.
Is This a Mug or a Cookie?
Technically...both.
The batter starts as a thick cookie dough rather than a traditional cake batter.
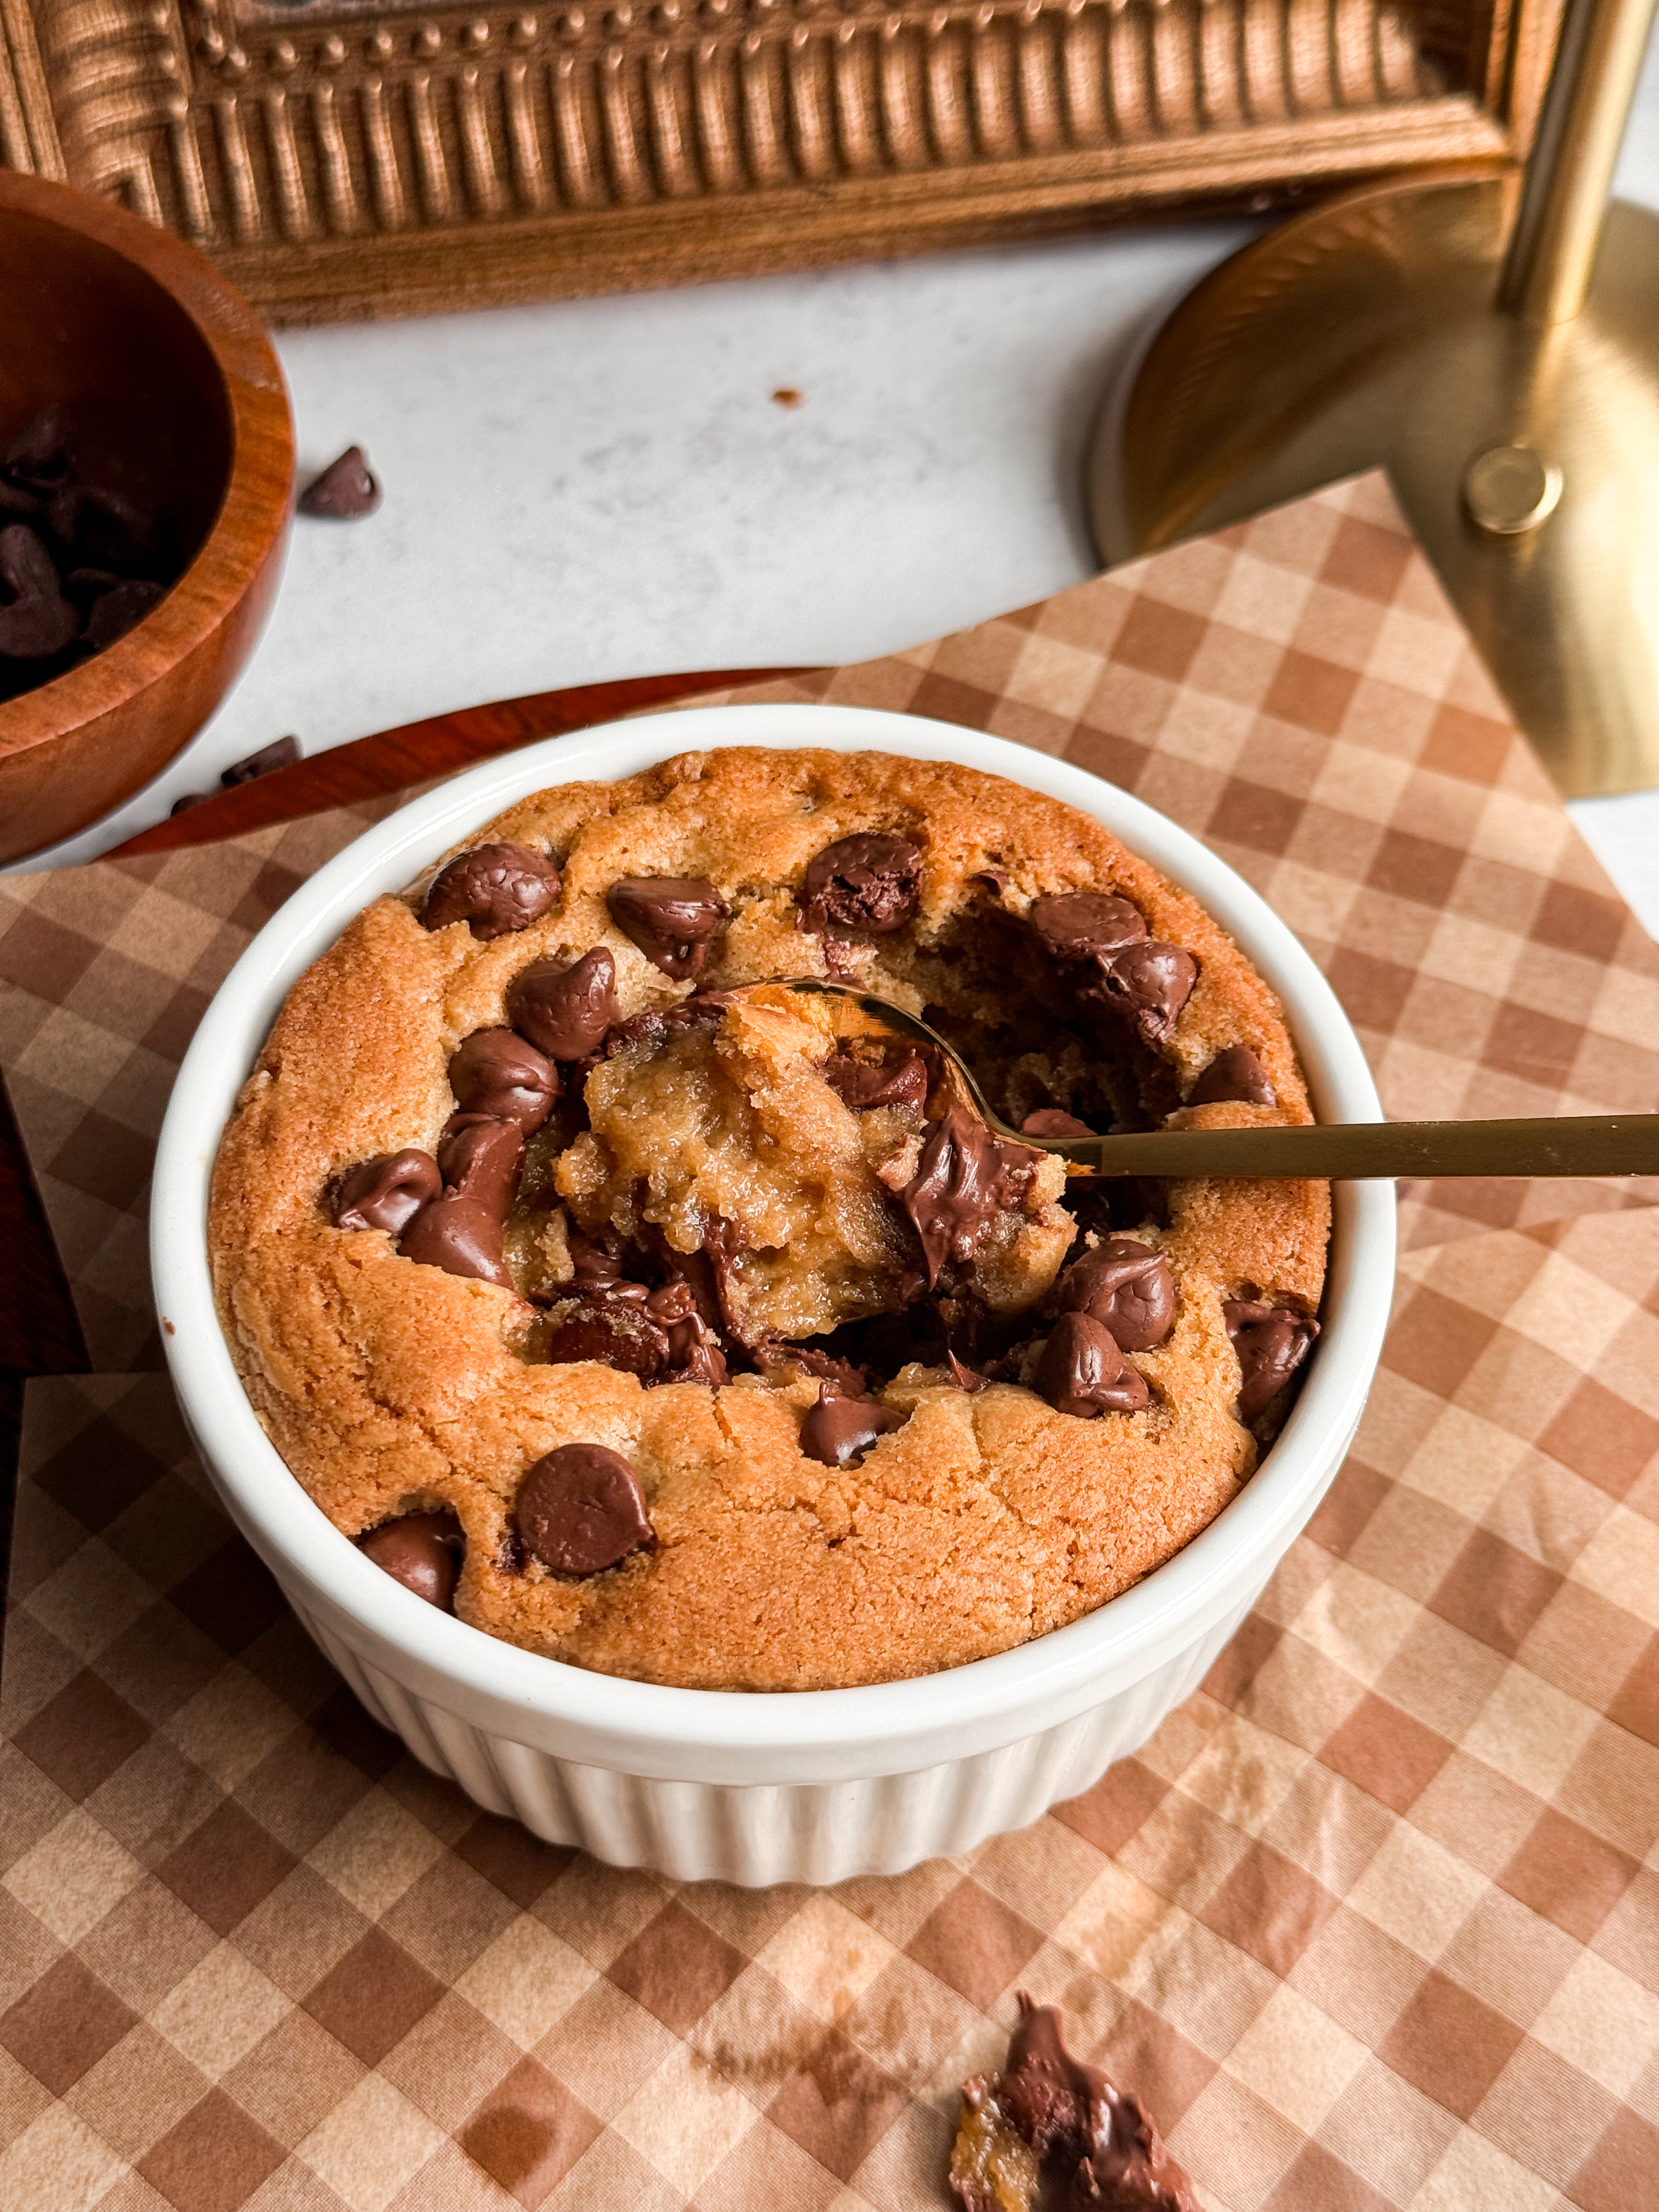
Once baked, the outside becomes lightly crisp while the center stays soft and gooey, almost like a warm chocolate chip skillet cookie.
Because it's baked in a ramekin, you get all the texture of a bakery cookie without making a full batch.
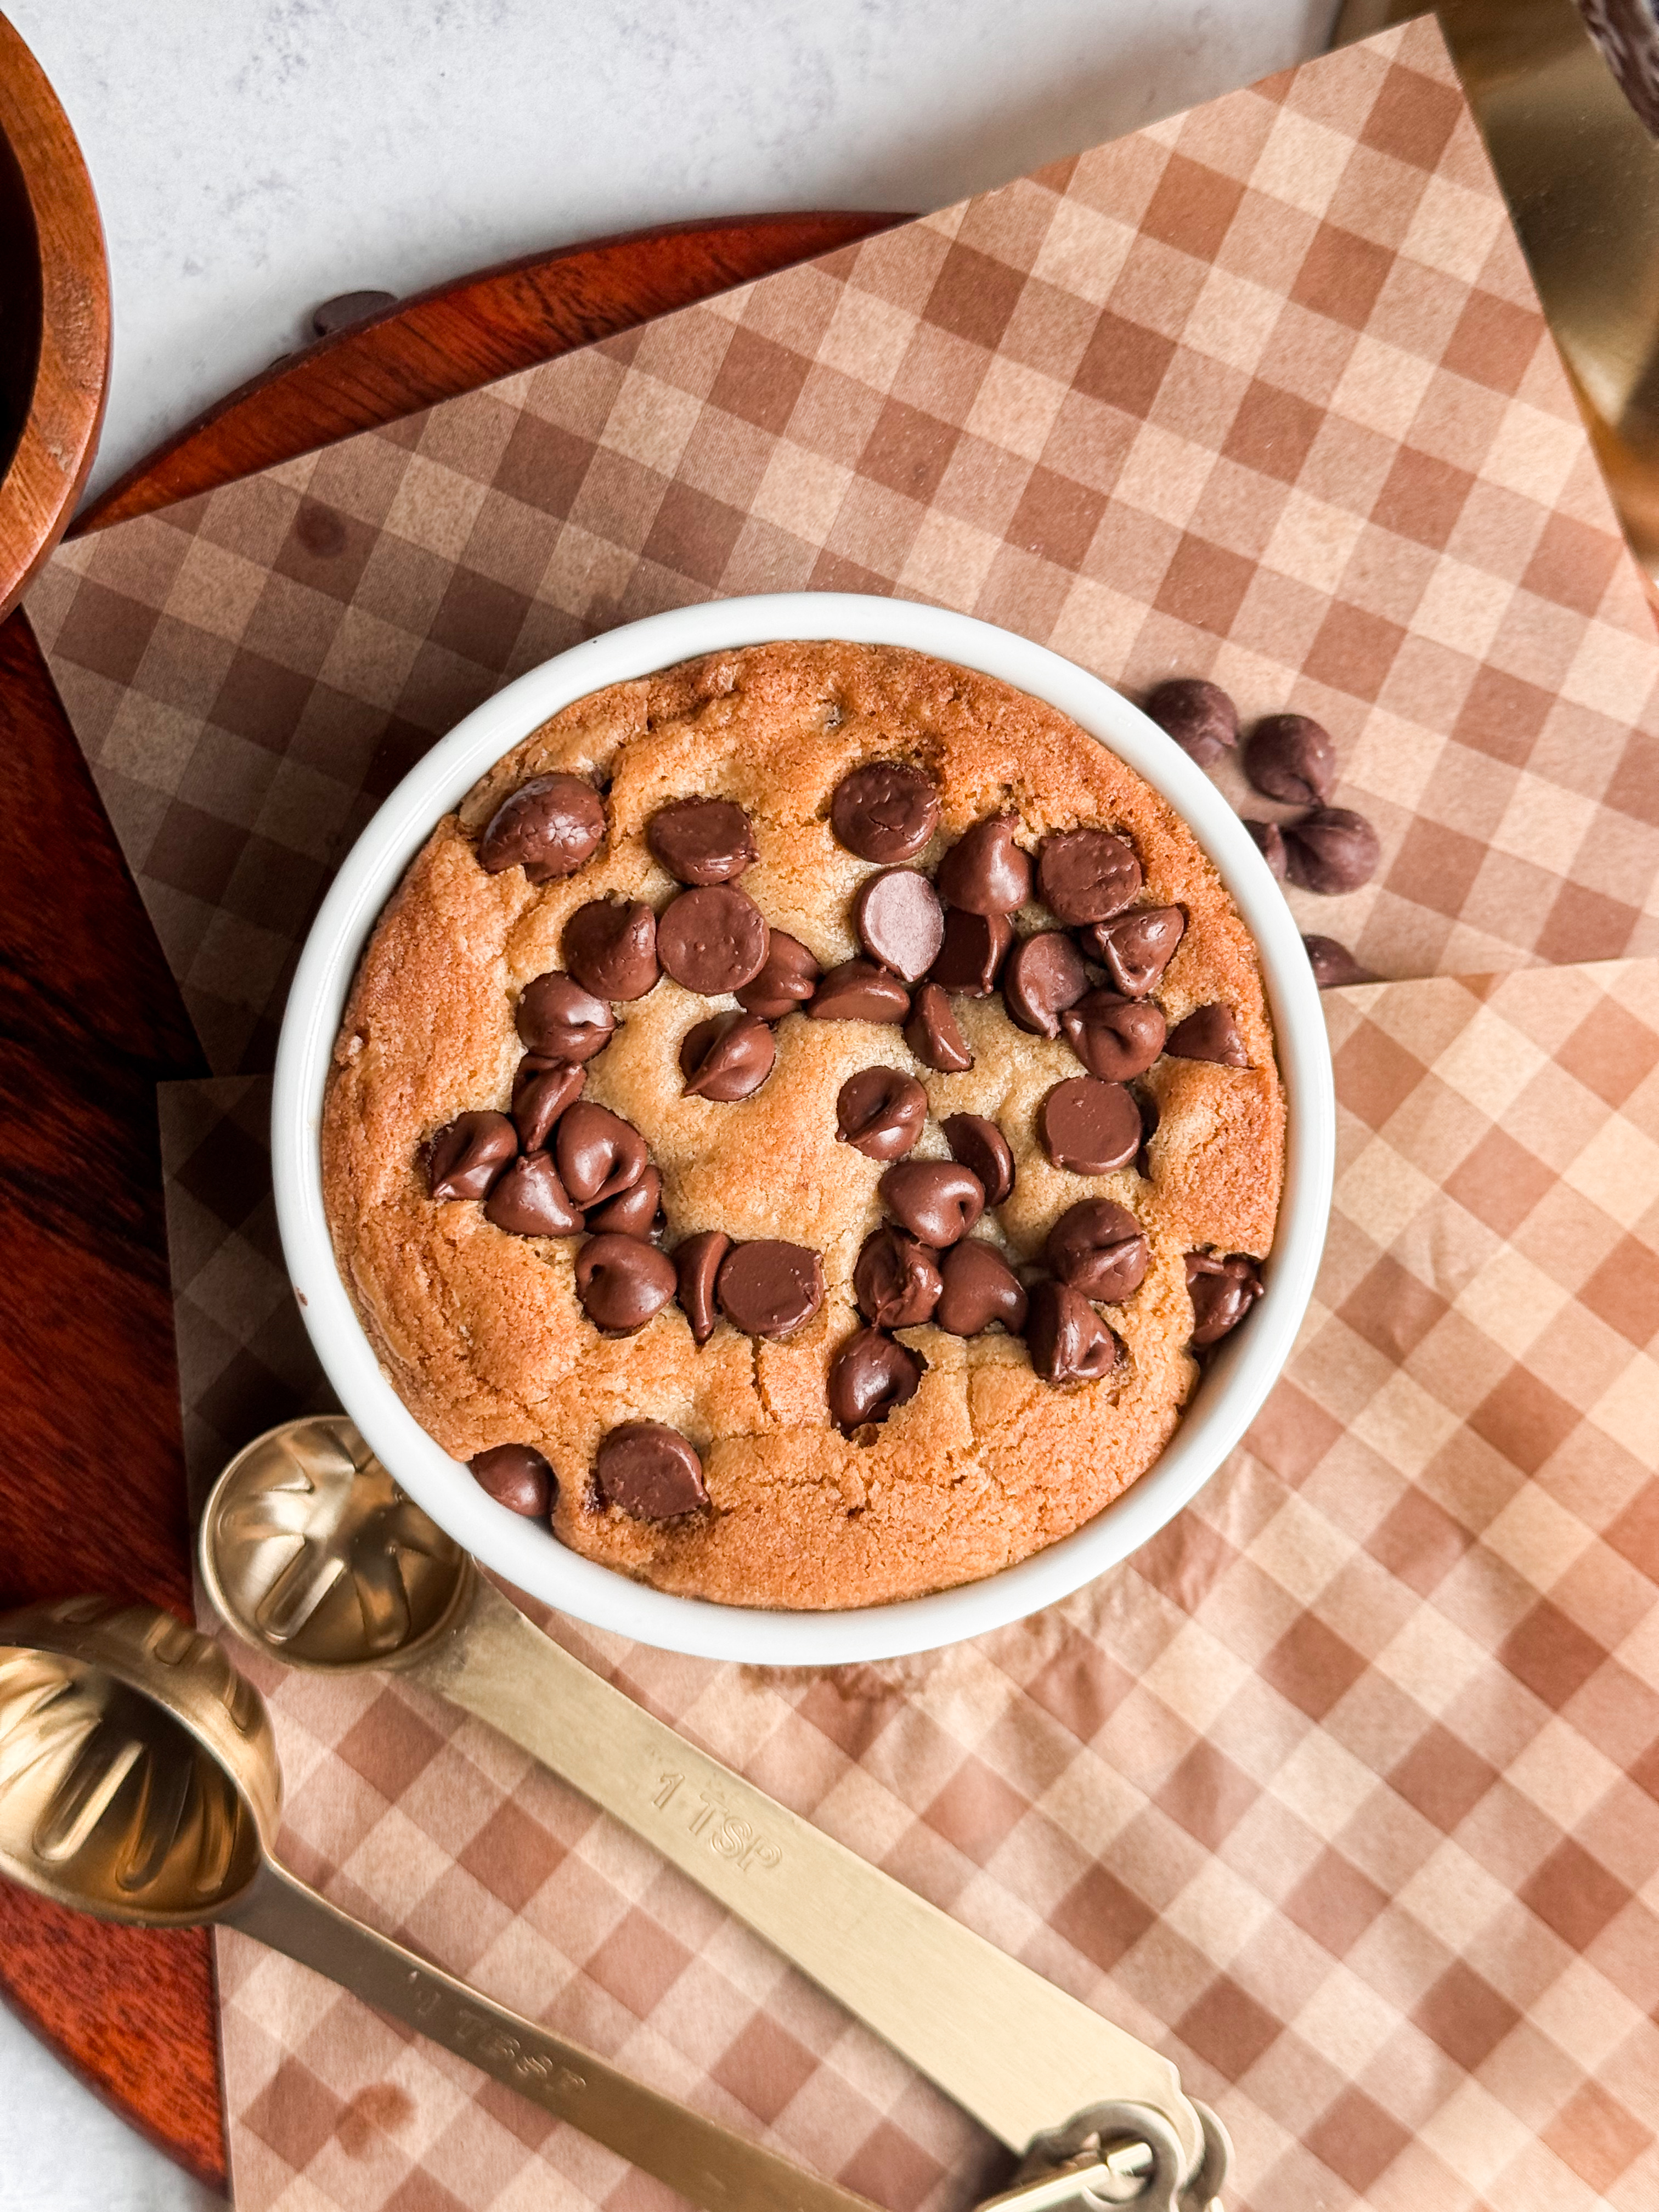
Chocolate Chip Cookie Mug Cake Ingredients
Melted Butter: Using melted butter instead of softened butter creates a richer, chewier cookie with very little effort. Since the butter isn't creamed, the cookie stays dense and gooey instead of cakey.
Brown Sugar: Brown sugar is responsible for the soft, chewy texture and subtle caramel flavor.
Granulated Sugar: Just enough granulated sugar helps create lightly crisp edges while balancing the brown sugar.
Egg Yolk: Using only the yolk makes a huge difference. It adds richness without introducing too much moisture, giving the cookie that soft, fudgy center instead of a fluffy cake texture.
Vanilla Extract: A little vanilla enhances all the buttery flavors.
All-Purpose Flour: Provides just enough structure while still allowing the center to stay soft.
Baking Soda: Gives the cookie a little lift and helps it brown beautifully.
Salt: Balances the sweetness and makes the chocolate flavor pop.
Chocolate Chips: The star of the show. I like using semi-sweet chocolate chips, but chopped chocolate works beautifully too because it melts into bigger pools throughout the cookie.
How to Make a Chocolate Chip Cookie Mug Cake
Step 1: Prepare the Ramekin
Preheat your oven to 350°F. Lightly grease a 10 to 12-ounce oven-safe ramekin.
Step 2: Mix the Wet Ingredients
In a medium bowl, whisk together:
- melted butter
- brown sugar
- granulated sugar
until smooth. Add the egg yolk and vanilla extract. Whisk until the mixture looks smooth and slightly glossy.
Step 3: Add the Dry Ingredients
Stir in:
- flour
- baking soda
- salt
Mix until a thick cookie dough forms.
If your dough looks dry or crumbly, add 1 teaspoon of milk. Depending on how your flour was measured, that little splash can help bring everything together without making the cookie cakey.
Step 4: Fold in the Chocolate
Fold in the chocolate chips, saving a few for the top. Press the dough evenly into the prepared ramekin. Sprinkle the remaining chocolate chips over the top.
Step 5: Bake
Bake for 16–20 minutes, or until:
- the edges are lightly golden
- the center looks just set
- the top no longer looks wet
The center should still look slightly soft. It will continue to set as the cookie cools.
Step 6: Cool and Enjoy
Allow the cookie to cool for about 5–10 minutes. Finish with flaky sea salt if you'd like, then enjoy it warm straight from the ramekin. A scoop of vanilla ice cream melting over the top is never a bad idea.
My Best Tips for a Cookie Mug Cake
Don't Overbake
This is the biggest mistake I see people make.
The center should still look slightly underdone when you remove it from the oven. It continues baking from the residual heat, which is what gives you that gooey bakery-style texture.
Measure Your Flour Carefully
Too much flour is the fastest way to turn a gooey cookie into a dry one.
If you're not using a kitchen scale, fluff your flour first, spoon it into the measuring cup, and level it off with a knife.
Save Chocolate Chips for the Top
A few extra chocolate chips pressed into the dough before baking make the finished cookie look so much more inviting.
Let It Rest
Waiting just five minutes makes a huge difference. The center finishes setting while still staying warm and gooey.
Easy Variations
Want to switch things up?
Try one of these:
Double Chocolate: Replace 2 tablespoons of flour with cocoa powder.
Peanut Butter Chocolate Chip: Swirl a spoonful of peanut butter into the center before baking.
Cookies and Cream: Fold in crushed Oreos instead of some of the chocolate chips.
Salted Caramel: Press a soft caramel candy into the middle before baking for a gooey caramel center.
Common Mistakes to Avoid
Overbaking: The cookie should still look slightly soft in the center when it comes out of the oven.
Packing the Flour: Too much flour creates a dry, crumbly cookie.
Skipping the Milk (If Needed): Different brands of flour absorb moisture differently. If your dough looks crumbly instead of thick, adding that teaspoon of milk makes all the difference.
Using a Small Ramekin: A 10 to 12-ounce ramekin gives the cookie enough room to bake evenly without overflowing.
How to Store
This recipe is designed to be enjoyed fresh.
If you happen to have leftovers, cover the ramekin or transfer the cookie to an airtight container and refrigerate for up to 2 days.
Warm it in the microwave for about 15–20 seconds before serving.
Frequently Asked Questions
Can I make this in the microwave?
This recipe was developed for the oven. Baking creates crisp edges and a gooey center that you simply can't get in the microwave.
Why only use an egg yolk?
The extra fat from the yolk creates a richer, chewier cookie while keeping the dough from becoming too wet.
Can I use chopped chocolate instead of chocolate chips?
Absolutely. Chopped chocolate melts into larger pools, making every bite extra gooey.
Can I make this ahead of time?
You can mix the dough and refrigerate it for up to 24 hours before baking.
If you make this Chocolate Chip Cookie Mug Cake, I would really appreciate a comment and rating down below, under the recipe card. Don’t forget to take a picture and tag me over on Instagram, Tik Tok, or Pinterest. For more ideas, check out my Dessert Recipes page.
Chocolate Chip Cookie Mug Cake
Ingredients
- 4 tbsp melted butter
- 3 tbsp brown sugar
- 1 tbsp granulated sugar
- 1 egg yolk
- 1 tsp vanilla
- ½ cup flour
- ¼ tsp baking soda
- ¼ tsp salt
- ⅓ cup chocolate chips
- Optional: 1 tsp milk ONLY if the dough seems too stiff.
Instructions
- Preheat the oven to 350°F. Lightly grease a 10- to 12-ounce oven-safe ramekin.
- In a medium bowl, whisk together the melted butter, brown sugar, and granulated sugar until smooth.
- Add the egg yolk and vanilla extract. Whisk until fully combined and slightly glossy.
- Stir in the flour, baking soda, and salt until a thick cookie dough forms. If the dough seems too dry or crumbly, mix in 1 teaspoon of milk.
- Fold in the chocolate chips, reserving a few to sprinkle over the top.
- Press the cookie dough evenly into the prepared ramekin and top with the remaining chocolate chips.
- Bake for 16–20 minutes, or until the edges are lightly golden and the center is just set. Be careful not to overbake—the cookie will continue to set as it cools.
- Let cool for 5–10 minutes, then sprinkle with flaky sea salt if desired. Enjoy warm on its own or with a scoop of vanilla ice cream.



No Comments